I have to be honest with you, at the beginning of my cooking journey, I was never really a fan of the mortar and pestle. It never did what I wanted or what I saw other people doing with it. But like everything, once you learn how to use it properly, and once you know that you need to season your mortar and pestle before the first use, the tool becomes a lot nicer to work with.
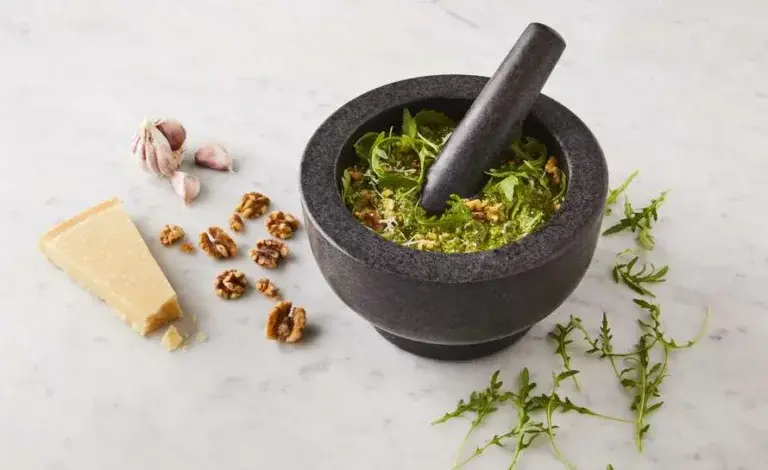
Granite mortar and pestle
There are many mortar and pestle tools out there, different shapes, different materials like ceramic, wood, marble, metal and even glass. The one I found the most use for, and the one I own, is made from granite. It’s rough enough to grip ingredients and smooth enough to clean afterwards.
Granite has tiny natural pores and a slightly rough surface that grabs garlic, anchovies, herbs and spices, so they actually crush instead of skating around. It is one of the hardest common natural stones, so it doesn’t chip easily under real pounding, useful when you’re crushing nuts or peppercorns. And because it is a heavy stone, you don’t have to work as hard; the weight does a lot of the work for you. Finally, a granite mortar and pestle handles both wet and dry ingredients, and it tolerates acidic ingredients like vinegar and lemon juice much better than marble, which can etch and stain more easily.
If you are thinking of buying one, go for a bowl that is at least 15–18 cm wide for home use. Anything smaller and ingredients jump out constantly. Check that the interior surface feels rough, not polished, a smooth interior defeats the purpose entirely. If you’re looking for a recommendation, the Tefal granite mortar and pestle is well regarded, sturdy, and should last you a lifetime with the right care.
Why should you get a mortar and pestle?
If you’re like me, you probably wondered at some point: why bother with a mortar and pestle when I can just blitz everything in a food processor? It’s a fair question. But there is actual science behind the difference, and once you try it yourself, you will taste it.
Food and plants are built from rigid cells, and the flavour and aroma compounds like oils, sulfur molecules, acids and pigments, sit inside those cells or in tiny oil glands. A food processor blade slices and tears through them quickly. A mortar and pestle presses and smears those cells open, mixing their contents together gradually. The result is more ruptured cells, which means more flavour and aroma released into whatever you are making.
The other factor is heat. Essential oils and aroma compounds are volatile which means they are sensitive to both air and heat. A food processor generates heat and this accelerates evaporation and oxidation of those delicate molecules, which is why the result can smell and taste slightly duller than you’d expect. Working by hand keeps everything cooler, and those aromas stay in the bowl for you to savour and taste.
In practice, this is why the same ingredients can taste brighter, more rounded and more integrated from a granite mortar and pestle, and a little flatter or sharper from a food processor. Same ingredients, same recipe, just different mechanics behind it, and a surprisingly different result on the plate.
Mortar seasoning
I hear people say the first time they used their mortar, they ate granite dust. And that is all because they didn’t know you have to season your tool before the first use. This is why I’m writing this article, too many people still think you can use it straight out of the box. Granite mortar and pestle seasoning is quick, it needs to be done once at the beginning and if you later feels the grit comes back, and it protects both the stone and whatever you cook with it.
How to season mortar and pestle
Step 1
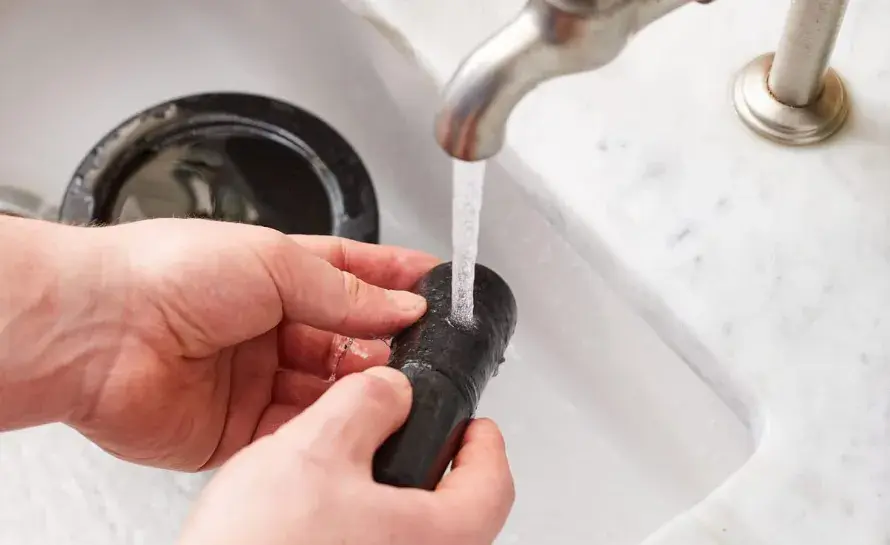
Rinse only Rinse the mortar and pestle in hot water, no soap. Let them air-dry fully.
Step 2
Rice grind to remove grit Put a small handful of dry white rice in the dry mortar. Grind and pound it all around the bowl until it turns grey from stone dust. Discard, wipe out the powder, and repeat with fresh rice once or twice until the rice stays mostly white.
Step 3
Add 1–2 tablespoons of coarse salt and grind it around the bowl. This polishes the micro-roughness and helps pull out any remaining dust.
Step 4
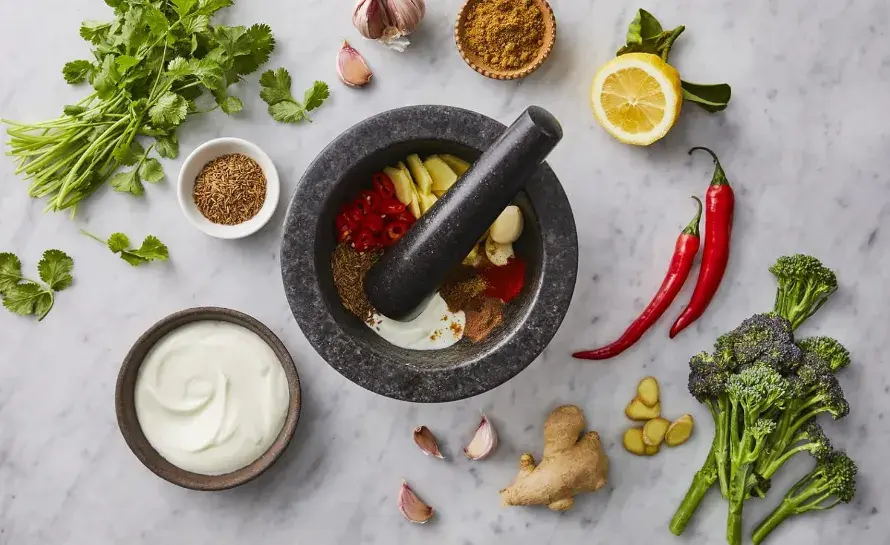
Optional but nice: Add a clove of garlic and some peppercorns, grind to a paste, smear it all over the interior, then discard and rinse with hot water. This is what really opens the stone up.
Step 5
Final rinse and dry Rinse again in hot water, no soap, and air-dry completely before using.
Care routine
After each use, rinse immediately in hot water, no long soaking needed unless things have dried on. Use a soft brush or a non-scratch sponge to loosen any paste. Avoid steel wool or anything that could scratch or, worse, polish the interior smooth, that roughness is what makes it work.
Avoid dish soap most of the time. If you do use a tiny bit for something very oily, rinse extremely well. Granite is porous and can hold onto detergent taste longer than you’d expect. Let it air-dry completely before putting it away, ideally upside down so moisture can escape. Don’t store it damp.
If after grinding something very hard it feels slightly gritty again, just repeat a quick mortar seasoning: grind a handful of dry white rice, discard, rinse. For lingering odours from strong garlic or fish, grind coarse salt with a clove of garlic or some citrus zest, discard, then rinse with hot water.
Things to avoid
- Don’t soak it for long periods, repeated soaking can stress the stone over time.
- Keep it out of the dishwasher; the heat and detergent will damage it.
- Don’t use it as a hammer. It might be tempting with frozen food, but it is designed for pounding inside the bowl. It may not look delicate, but it is still stone.
- Avoid overfilling the bowl, work in smaller batches so ingredients don’t jump out.
When not to use a mortar and pestle
For large batches, set it aside and use a food processor instead. The mortar is for small, flavour-critical jobs or finishing. And don’t try to grind very hard dry ingredients like unsoaked chickpeas, use an electric grinder for that, or again, your food processor if it’s powerful enough.


How to actually use it
The best method is what I call the “press and drag”. You don’t need to pound aggressively, push the pestle down and smear it against the side of the bowl in circles to crush and grind at the same time. It is more effective than straight pounding and gives you much more control over the texture.
Start with the hardest ingredients first: salt, pepper, nuts, seeds. Then add the softer ones, garlic, herbs and oils. The coarse bits help break everything down, and salt acts as a natural sandpaper while also seasoning as you go. For an anchoiade, for example, you would start with salt, then garlic, then anchovies, herbs, and finally the oil.
This is the real point of using a mortar over a food processor. Stone-to-stone grinding releases oils and aromas more gently than blades, so herbs and garlic stay greener and more fragrant. And you control the outcome directly: a coarse crush gives a lighter flavour, a full paste gives something much deeper and stronger.
A note on dedicated use
If you cook a lot, consider having one mortar for sweet and one for savoury. Garlic and anchovy linger in the stone, and you don’t want that crossing into coffee or sweet spices.
Final thoughs
I ignored this tool for years. I thought it was slow, inefficient and honestly a bit of a kitchen cliché. Now I reach for it to make tapenade or pistou. It took me longer than it should have to learn how to use it properly, and even longer to understand why it actually matters. But now that I do, I wouldn’t go back. A piece of stone that has been used in kitchens for thousands of years doesn’t need much justification really. That should’ve been my clue.
If you have one sitting in a cupboard gathering dust, I hope this article gives you a reason to bring it back out. And if you’re thinking of getting one, don’t overthink it, just make sure you season it first.
Have you ever noticed a difference in flavour between making a paste by hand versus using a food processor? I’d love to know in the comments.
Disclosure: This post may contain affiliate links which provide us a small commission when used for purchase. Please read my disclosure policy for more information. I am grateful for your support!