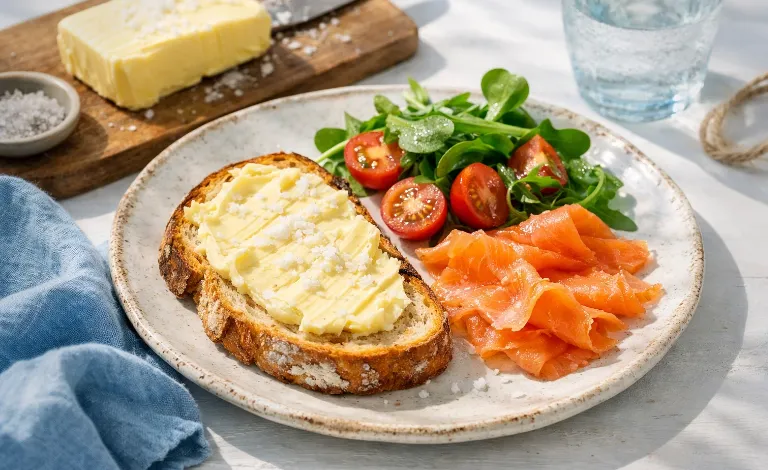
Yes, you can buy good French butter. Or you can make your own in half an hour and see immediately why the French are so precious about their butter. Homemade cultured butter is richer and creamier, with a real flavour of cream rather than just fat and salt. It melts differently on warm bread and has that faint grain you only get from fresh homemade butter.
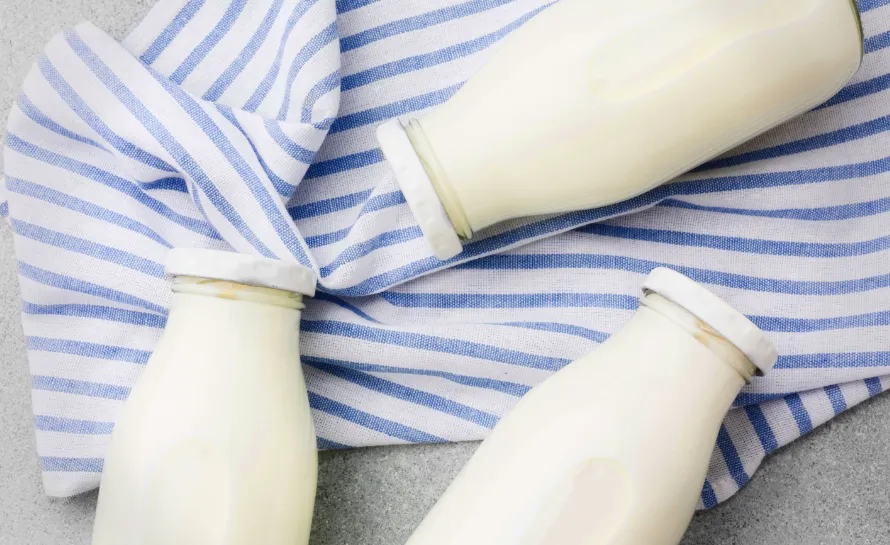
You also get real buttermilk as a bonus, the tangy liquid left after churning, which is perfect for pancakes, soda bread, crêpes, waffles, and cakes. And if you bring a small dish of homemade butter to the table, shaped neatly and scattered with fleur de sel, people will definitely notice. Here’s how to make butter at home the French way, cultured, rich, and super tasteful.
Choosing the cream
This is where everything starts. Ordinary cream makes ordinary butter, no matter how carefully you churn it.
- Go for heavy or double cream with at least 35% fat, ideally a little higher. Light cream will never split properly.
- Pasteurised is fine but avoid UHT, which gives flat, dull butter.
- If you can find cream from grass-fed cows, that’s even better. The butter will be more yellow and taste fresher.
How Much You Need
Roughly 600 ml cream gives about 250–300 g butter and a cup of buttermilk. That is enough for a good trial run without committing to industrial quantities.
Equipment to make your own butter
Churn method 1
Shaking in a jar

Churn method 2
Stand mixer
Churn method 3
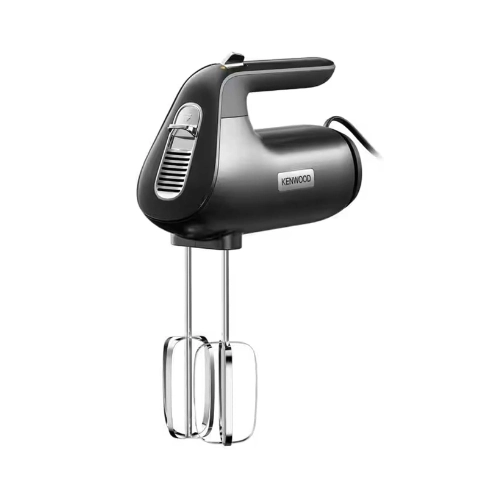
Electric hand mixer
Churn method 4
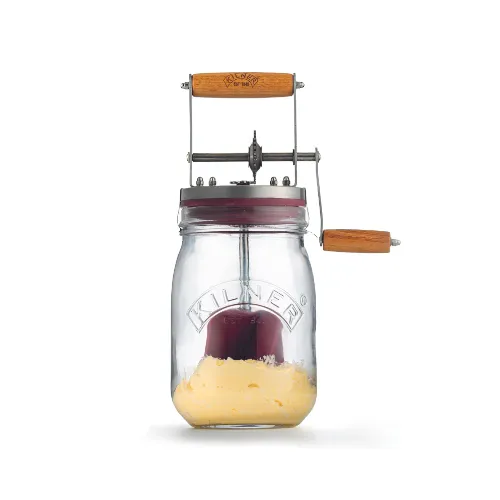
Butter Churner
For washing the butter
A large bowl
For washing the butter. Glass or ceramic is better than metal because it doesn’t conduct heat as quickly. Le Creuset mixing jug is a really nice one if you want to make your homemade butter in French style, and Pyrex has a 3 liters glass bowl that is big and sturdy. Your choice.
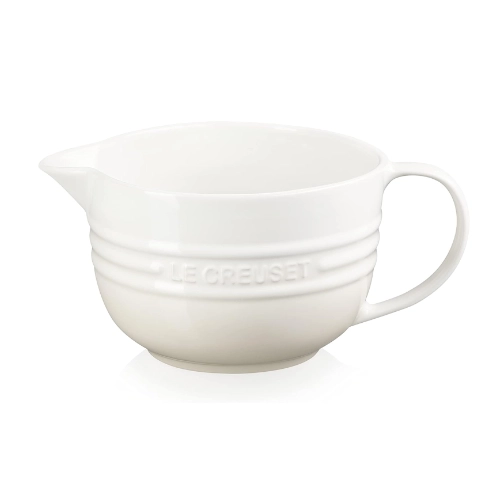
Le Creuset Ceramic Mixing Jug
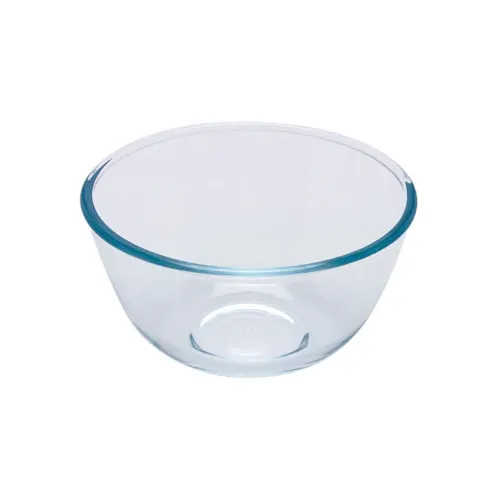
Pyrex Glass Mixing Bowl
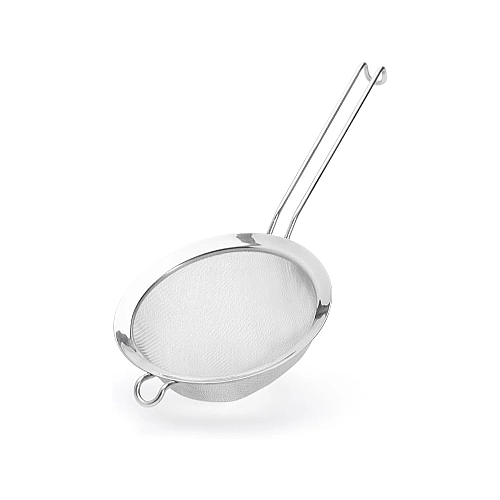
Fine Mesh Sieve
To extract the buttermilk
A fine-mesh sieve
A fine mesh-sieve for straining off the buttermilk after churning. Doesn’t need to be fancy.
Muslin or cheesecloth
For wrapping and squeezing out the last bits of buttermilk. Not essential, but helpful if you want your butter to keep for weeks rather than days. Buy proper butter muslin, not the flimsy stuff sold for straining. You want tightly-woven fabric that won’t let butterfat through.
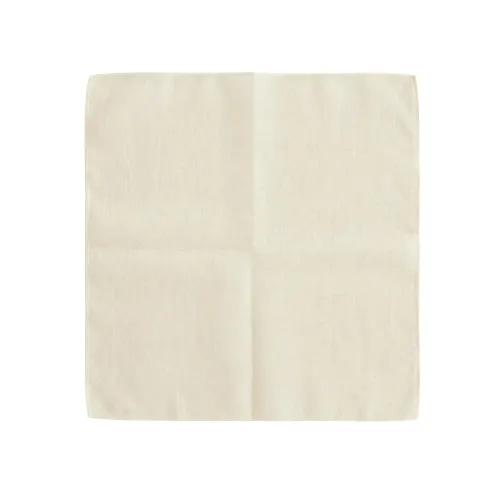
Butter muslin cloth

Thermometer
Wooden paddles
Nice to have equipment
A kitchen thermometer (optional but helpful)
If you’re serious about making butter regularly, an instant-read thermometer takes the guesswork out of getting cream to the right temperature. A digital instant-read thermometer tells you exactly when it’s ready, rather than relying on feel.
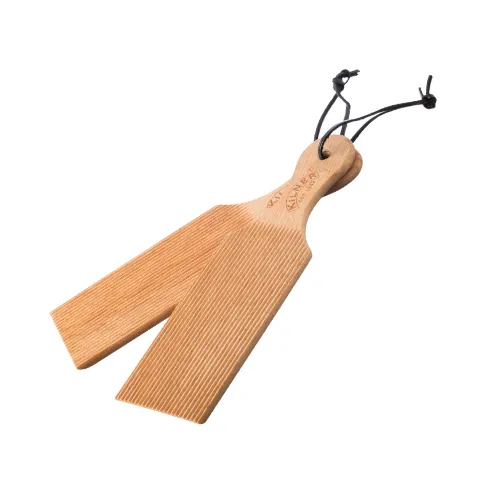
Butter paddles or Scotch hands
Traditional wooden paddles with ridges for working butter and pressing out buttermilk. The French use them, the Irish use them, they work. You can manage with a silicone spatula, but proper butter paddles make the job easier and you feel like you’re doing it properly. Traditional wooden butter paddles last forever and make the process more efficient.
Butter moulds and stamps
Purely decorative, but if you’re making butter for guests, wooden moulds with carved patterns or butter stamps look impressive. Traditional French designs include flowers, wheat sheaves, or cows.
The French homemade butter is cultured
Most French butter starts with cultured cream. It sounds technical, but it is nothing more than controlled souring, like making crème fraîche.
Lactic bacteria turn milk sugar into lactic acid, which thickens the cream, sharpens the flavour, and helps the butter keep longer. The result is butter that is slightly tangy, more complex, and a deeper yellow.
If you want plain sweet-cream butter, you can skip this step, but the flavour will be simpler.
How to make butter at home
Step 1: Culture the cream
- Stir 600 ml heavy cream with 2 tablespoons live yoghurt, cultured buttermilk, or crème fraîche in a clean bowl.
- Cover with a clean cloth or a loose lid so it can breathe.
- Leave at room temperature (around 21–24 °C) for 24–36 hours. It should thicken and smell pleasantly tangy, like mild yoghurt.
- Do not leave it more than about 48 hours or it becomes too sour and may separate.
Step 2: Chill
- Put the cultured cream in the fridge for at least 2 hours so the fermentation stops.
- Before churning, let it sit out until it reaches about 15–18 °C. Too cold and it takes forever to split. Too warm and the butter turns greasy and hard to handle.
Step 3: Churning: four easy options
At this point you can use whatever you have: jar, stand mixer, hand mixer, or a small churn. The cream goes through the same stages every time: liquid, softly whipped, stiffly whipped, then suddenly the fat clumps together and separates from the liquid.
Churn method 1: Shaking in a Jar
- Fill a large jar halfway with cream, screw the lid on very tight, and shake hard until you hear and feel a solid lump sloshing in thin liquid.
Churn Method 2: Stand Mixer
- Put the cream in the bowl, fit the paddle or whisk, cover with a tea towel, and run on medium until it suddenly looks like yellow clumps in thin buttermilk.
Churn Method 3: Electric Hand Mixer
- Same as the stand mixer, but in a deep bowl you can cover partly with a tea towel to keep splashes in.
Churn Method 2: Stand Mixer
- Pour in the cream, turn the handle steadily until you see the butter form.
For all methods
Whichever method you use, you are done when you have visible clumps of yellow butter sitting in a milky liquid that smells tangy.
Step 4: Drain the buttermilk
- Pour everything through a fine sieve and catch the buttermilk in a jug. Keep it for baking. The sieve will hold soft clumps of butter.
Step 5: Wash the butter
- Move the butter into a bowl and cover it with ice-cold water.
- Press and fold the butter with your hands or a spatula. The water will turn cloudy.
- Pour off the cloudy water and repeat with fresh cold water until it runs completely clear.
Washing removes leftover buttermilk and milk solids, which are what spoil first. Properly washed butter keeps in the fridge for at least two weeks.
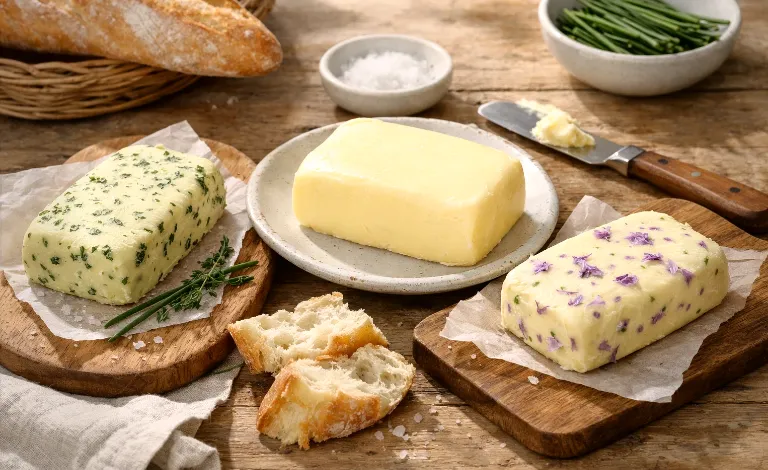
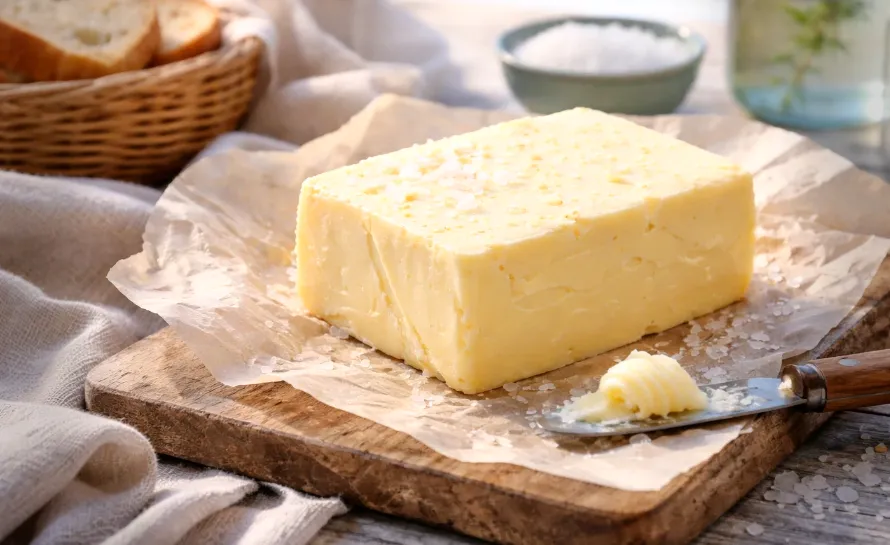
Step 6: Work and shape
Place the clean butter on a board. Use a spatula or butter paddles to press, fold, and turn it for a couple of minutes until it is smooth and even, with no visible water beads.
Shape it however you like: a small block wrapped in baking paper, a roll, or pressed into a mould.
Salted homemade butter: the Britanny way
If you like salted butter, now is the moment. Scatter good sea salt or fleur de sel over the butter and fold it through gently so you can still see small crystals.
French fleur de sel is the traditional choice: delicate, slightly mineral, and very different from ordinary table salt. A little goes a long way and gives that sweet-salty snap on bread, potatoes, or simple radishes.
Salted butter keeps longer than unsalted, which is why coastal regions such as Brittany became famous for it.
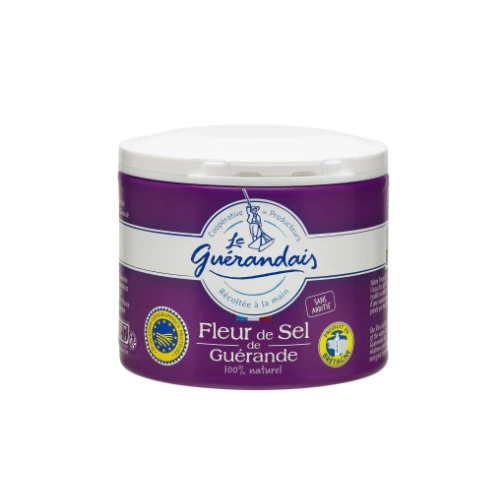
Le Guerlandais Fleur de Sel
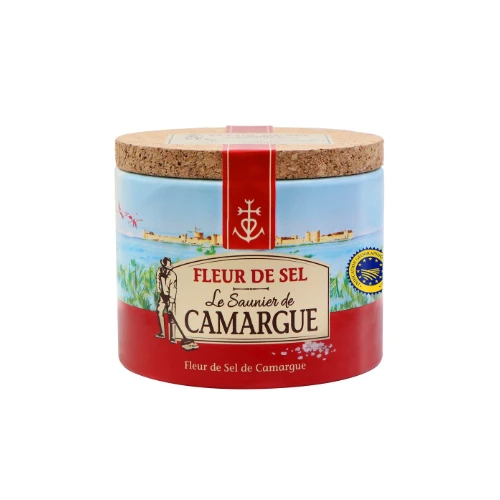
Le Saunier Fleur de Sel
Storing your butter
In the fridge
Properly washed butter keeps for 2-3 weeks in a butter dish, sometimes up to a month if very thoroughly washed. Unwashed butter lasts about 3-5 days before the residual buttermilk goes rancid, so make sure you do it properly.
In a butter bell
Salted butter keeps at room temperature for 1-2 weeks in a proper French butter bell. Change the water every 2-3 days. Unsalted butter’s riskier in warm weather, you might get rancidity after a week. In cooler months, it’s fine.
Frozen
Butter freezes brilliantly for up to six months, sometimes up to a year. Wrap it tightly in parchment paper, then in foil or a freezer bag to prevent freezer burn. Defrost slowly in the fridge overnight. The texture’s slightly more crumbly when defrosted, but it’s fine for cooking and spreading.


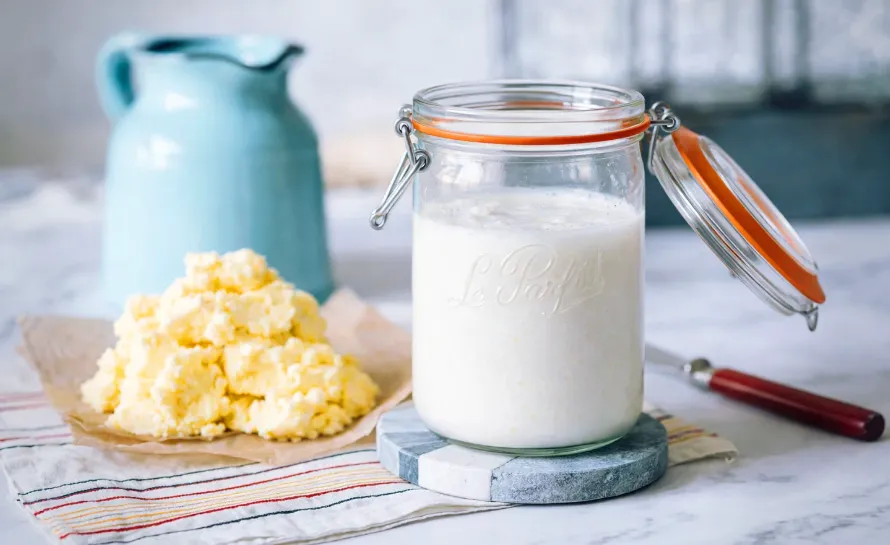
What to do with the buttermilk
The liquid you poured off is real buttermilk from churning, not the cultured milk sold in bottles. If you cultured the cream, it will be tangy and perfect for baking.
Good uses include:
- Crêpes and waffles
- Simple yoghurt-style cakes and madeleines
- Clafoutis or a Far Breton
- Pancakes, soda bread, or soft sandwich loaves
- Madeleines and Quatre-quarts or yoghurt cake
- A quick fresh cheese: gently heat, add a little acid, and strain
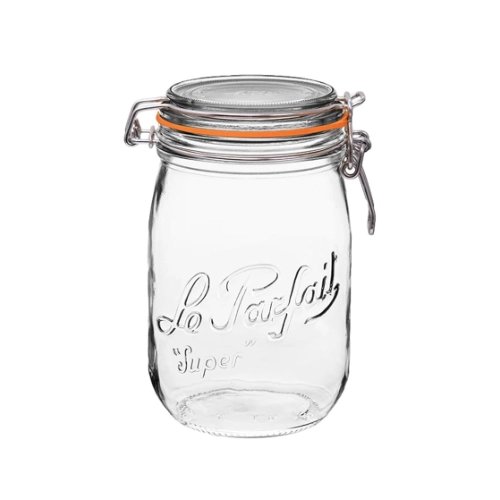
Storing Buttermilk
Buttermilk keeps in the fridge for about a week in a sealed jar. Once it starts smelling very sour or developing chunks, discard it. Though honestly, if you’ve made cultured buttermilk, it already smells sour, you’re judging whether it’s gone too sour or smells genuinely off.
You can freeze buttermilk for up to three months. Freeze it in ice cube trays or Souper Cubes, then transfer the cubes to a freezer bag. Each cube is roughly 30ml, perfect for adding to recipes.
Final thoughts
Cultured butter does take a bit of planning, but not much actual work. Most of the time is simply the cream sitting on the counter, then resting in the fridge. The hands-on part is 15 to 20 minutes.
Is it something you will do every week? Probably not. But for a weekend lunch, a dinner with friends, or the first new potatoes of the year, spreading your own butter on good bread and tasting that soft tang and sea salt is one of those small kitchen moments that feels very satisfying.
Disclosure: Just so you know, this post contains sponsored content and/or affiliate links, If you make a purchase through these links, I may receive a small commission. Doesn’t cost you anything extra. I only link to things that are actually worth your time. All opinions are my own!