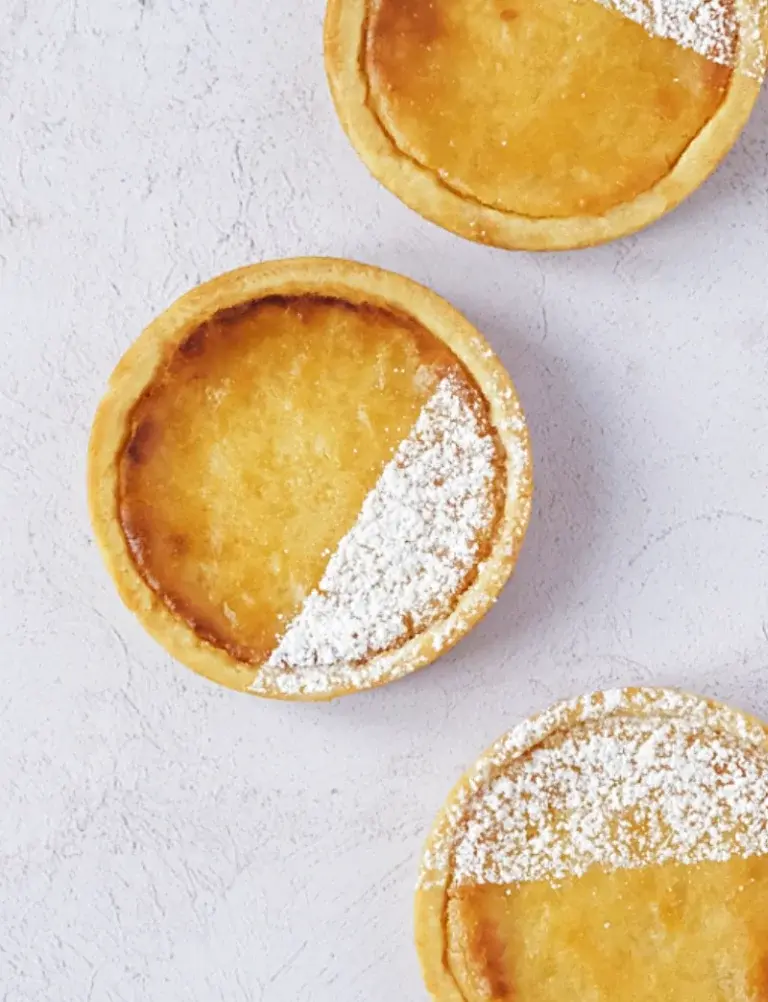
Lemon Tartlets

 Prep Time 30 minutes
  Cook Time 35 minutes
  Total Time 2 hours 5 minutes
  Servings 6
Ingredients
For the pâte brisée (shortcrust pastry)
- 200 gr plain flour
- 100 gr unsalted butter cubed
- 1 egg yolk
- 1 pinch salt
- 20 ml water
For the lemon curd filling
- 3 egg
- 100 gr caster sugar
- 120 ml lemon juice about 4-5 lemons
- 2 lemons for the zest
- 80 gr unsalted butter
- 20 gr corn starch
For decoration
For the egg wash seal
- 1 egg yolk
- 2 tbsp whole milk
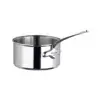
Equipment


Instructions
1. Make the pastry
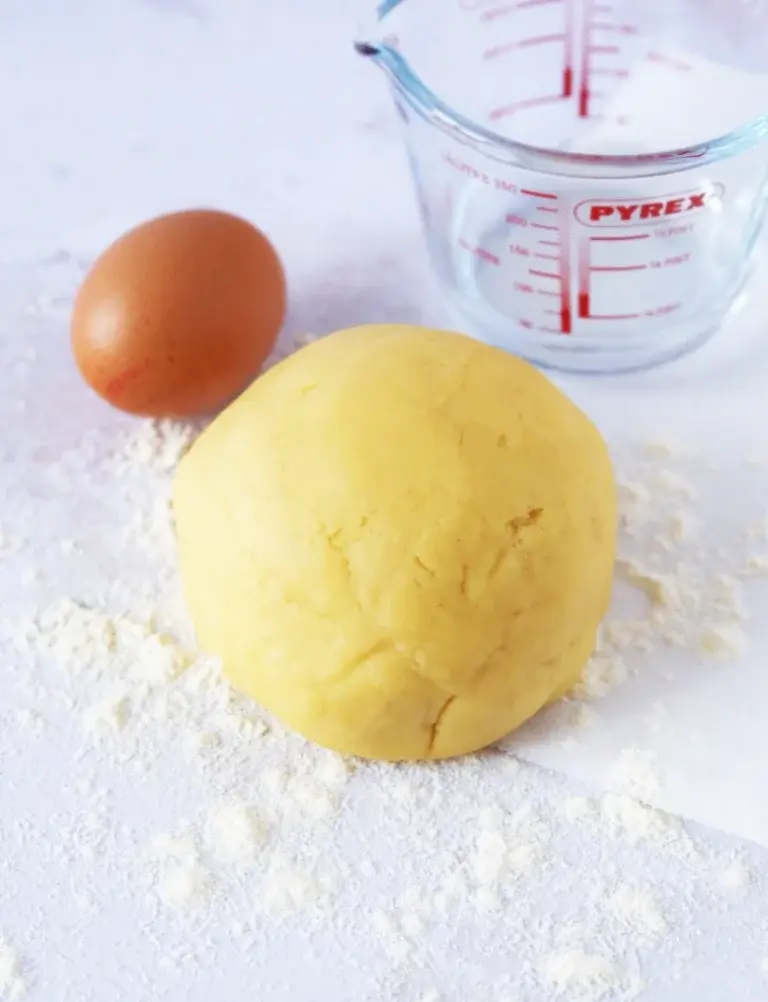
- Put the flour and salt into a large bowl. Add the cold cubed butter and rub it into the flour with your fingertips until the mixture resembles coarse breadcrumbs. Work quickly, you want the butter cold.Add the egg yolk and cold water. Bring the dough together with your hands until it just forms a ball. Don't overwork it; a few rough bits are fine. The less you handle it, the shorter and more tender your pastry will be.
2. Rest and chill the pastry
- Flatten the dough into a disc, wrap it in cling film, and refrigerate for at least 30 minutes. This resting time is not optional, it relaxes the gluten and stops the pastry from shrinking when it bakes.
3. Line and chill the tartlet tins
- Lightly butter your tartlet tins. On a lightly floured surface, roll the pastry out to about 3mm thick. Cut out 6 circles slightly larger than your tins and press them in carefully, making sure there are no air pockets underneath. Trim the excess and prick the bases with a fork. Put the lined tins back in the fridge for another 30 minutes.
4. Blind bake the pastry cases
- Heat your oven to 180°C fan (200°C conventional). Line each pastry case with a small piece of baking parchment and fill with baking beans. Bake for 15 minutes, then remove the paper and beans and bake for a further 5–7 minutes until the bases are dry and very lightly golden. Set aside to cool slightly. Turn the oven down to 160°C fan (180°C conventional).
5. File and neaten the pastry cases
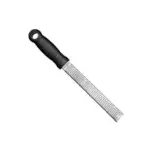
- Once the cases are cool enough to handle, take a look at the top edges. Even careful trimming leaves a few rough spots after baking. Hold a microplane or fine grater flat against the rim of each case and run it gently around the edge in short strokes to file away any ragged or uneven bits. This takes about thirty seconds per case and makes a noticeable difference to the finished result. Brush away any crumbs with a dry pastry brush.
6. Seal the cases with egg wash
- Whisk the egg yolk and milk together in a small bowl. Using a pastry brush, coat the inside of each case lightly as well as the base and sides. Return them to the oven (still at 160°C fan / 180°C conventional) for 2–3 minutes until the egg wash has set and turned slightly glossy. This creates a barrier between the pastry and the filling, keeping the base crisp rather than soggy. Leave to cool completely before filling.
7. Make the lemon filling
- In a bowl, whisk together the eggs, caster sugar, cornstarch, lemon juice and lemon zest until smooth and combined. Add the cooled melted butter off the hob and whisk again until everything is well incorporated.
8. Fill and bake the tartlets
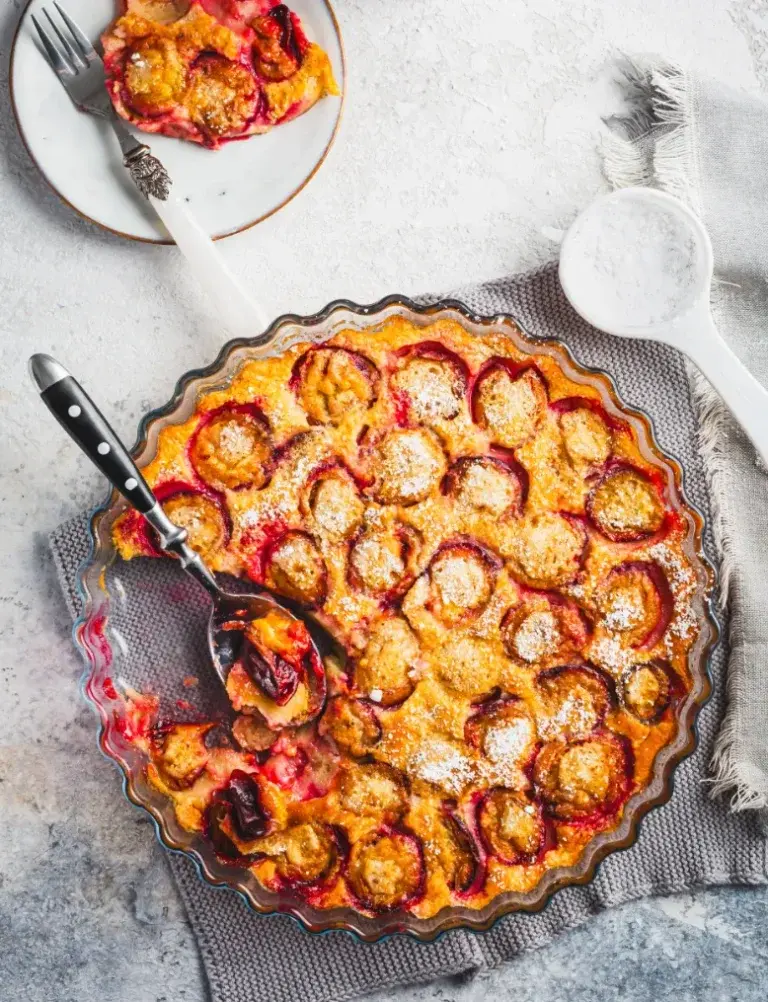
- Pour the filling into the sealed cases, fill them right to the top (with or without piping bag, your choice). Slide them carefully into the oven and bake for 12–15 minutes. The filling should be just set at the edges with a slight wobble still in the centre when you gently move the tray. It will firm up as it cools.
7. Cool and dust the tartlets
- Leave the tartlets to cool completely in their tins before attempting to unmould them, the filling sets fully as it cools. Once cold, dust lightly with icing sugar before serving.
Notes
- The egg wash seal in step 6 is a standard French pâtisserie technique and genuinely worth doing. It takes a few extra minutes but keeps the base crisp even after the filling has been in for a day.
- The microplane or fine grater you use for zesting works perfectly for filing the pastry edges, the fine side gives you control without taking off too much.
- The pastry must be cold at every stage. If your kitchen is warm, chill the bowl too. Warm butter means tough, greasy pastry.
- Don’t skip the second rest after lining the tins. It really does prevent shrinkage.
- Roll the lemons firmly on the worktop before juicing, you’ll get significantly more juice out of them.
- The tartlets keep well in the fridge for up to 2 days. Dust with icing sugar just before serving, not before.
About this recipe
Summer means lemons, and nothing feels more right than lemon tartlets on the table for a long Sunday lunch in the garden. These individual lemon tartlets are exactly what you make when you want something that looks impressive but doesn’t take over your day. It’s an easy lemon tartlets recipe you can rely on, simple to prepare, consistent, and always well received. And honestly, if it weren’t for the buttery, crisp pastry holding them together, most people would go straight for a second without hesitation.
Why these lemon tartlets work so well
What makes this lemon tartlets recipe stand out is how straightforward it is. There’s no need for complicated techniques or extra elements. You’re working with a crisp pastry base and a smooth lemon filling, baked together until just set.
They’re closer to classic French lemon tartlets than to lemon curd tartlets. The filling is baked in the shell, which gives it a cleaner texture, set but still soft, rather than something spooned in afterwards. It keeps everything neat, balanced, and easy to serve, especially when making individual portions.
The pastry: keep it simple and crisp
For these individual lemon tartlets, a pâte brisée works particularly well. It’s less sweet than pâte sucrée, which helps balance the sharpness of the lemon filling instead of adding more sugar on top of it. If you’re not sure when to use each type, this guide to French pastry doughs breaks it down simply.
The method is easy: cold butter, minimal handling, and enough resting time in the fridge will give you a pastry that bakes evenly and stays crisp. Overwork it, and you lose that texture completely.


The filling: sharp, smooth, and balanced
The filling is where everything comes together, again we work with simple ingredienst: eggs, sugar, lemon juice, zest, and butter.
Although people often compare it to lemon curd, this is slightly different. In lemon curd tartlets, the filling is usually made separately and added later. Here, it bakes directly in the pastry, giving it a firmer, smoother finish that slices cleanly and holds its shape.
A small amount of cornstarch helps stabilise the mixture without making it heavy. The goal is a filling that feels rich but still fresh, sharp enough to keep it interesting, but balanced enough that you’ll happily go back for another (if you can handle the extra butter pastry!).
Getting the bake right
This is where most issues happen, but it’s easy to manage once you know what to look for. The pastry should be fully baked and lightly golden before adding the filling. For the filling itself, don’t wait until it looks completely set in the oven. You’re looking for a slight wobble in the centre when you take it out. It will continue to firm up as it cools. Bake it too long, and the texture becomes dense instead of smooth.
A small upgrade that makes a big difference
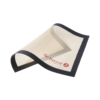
If you make lemon tartlets or any tartlets regularly (for individual desserts or for apéro time), using the right equipment changes the result significantly.
De Buyer tart rings with their perforated Airmat baking mat are especially useful here. The perforated rings help the pastry bake evenly and stay crisp all around, while the Airmat allows airflow underneath so you don’t end up with soft bases.
It makes this easy lemon tartlets recipe even more reliable and gives you that clean, professional finish without adding extra effort.
Serving and finishing
A light dusting of icing sugar is all you need to finish them. It softens the sharpness slightly and gives a clean, polished pro look.
Serve the lemon tartlets at room temperature or just slightly chilled. Straight from the fridge, the texture firms up too much and the flavour isn’t as bright. Give them about 30 minutes out before serving and they’ll be exactly where you want them.
Share your feedback and spread the love!
If you try this recipe, I’d love to hear how it turns out! Leave a ★★★★★ rating and your thoughts in the comments, it helps fellow French foodies discover this recipe too. Snap a photo and tag @obviously.french on Instagram. Come talk about it in our Facebook group. And don’t forget to save this recipe to Pinterest so you’ll always have it handy for your next French-inspired meal!
Disclosure: Just so you know, this post contains sponsored content and/or affiliate links, If you make a purchase through these links, I may receive a small commission. Doesn’t cost you anything extra. I only link to things that are actually worth your time. All opinions are my own!
I absolutely love this recipe. It opens your palate to a whole new flavour experience. The filling is surprisingly easy to make when you follow the instructions, and the reward at the end is absolutely fanbloodytastic!
Fanbloodytastic? That sounds like it’s a keeper! And it really is super easy to bake!