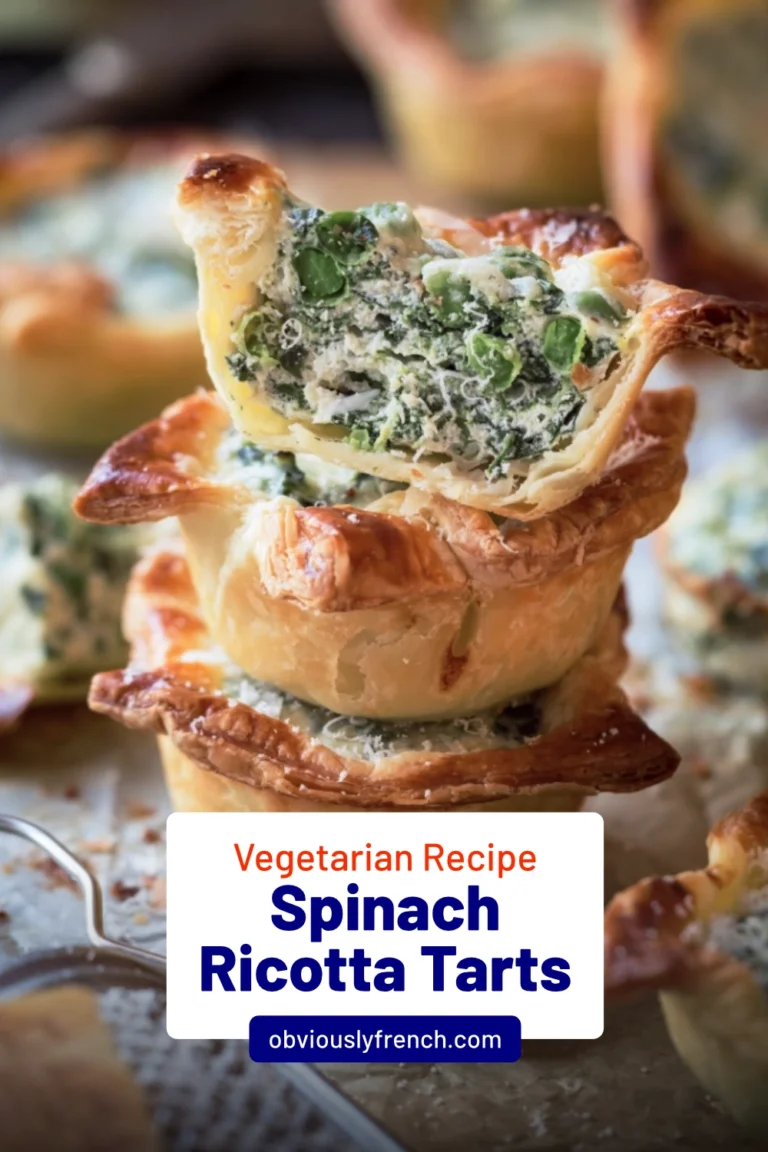
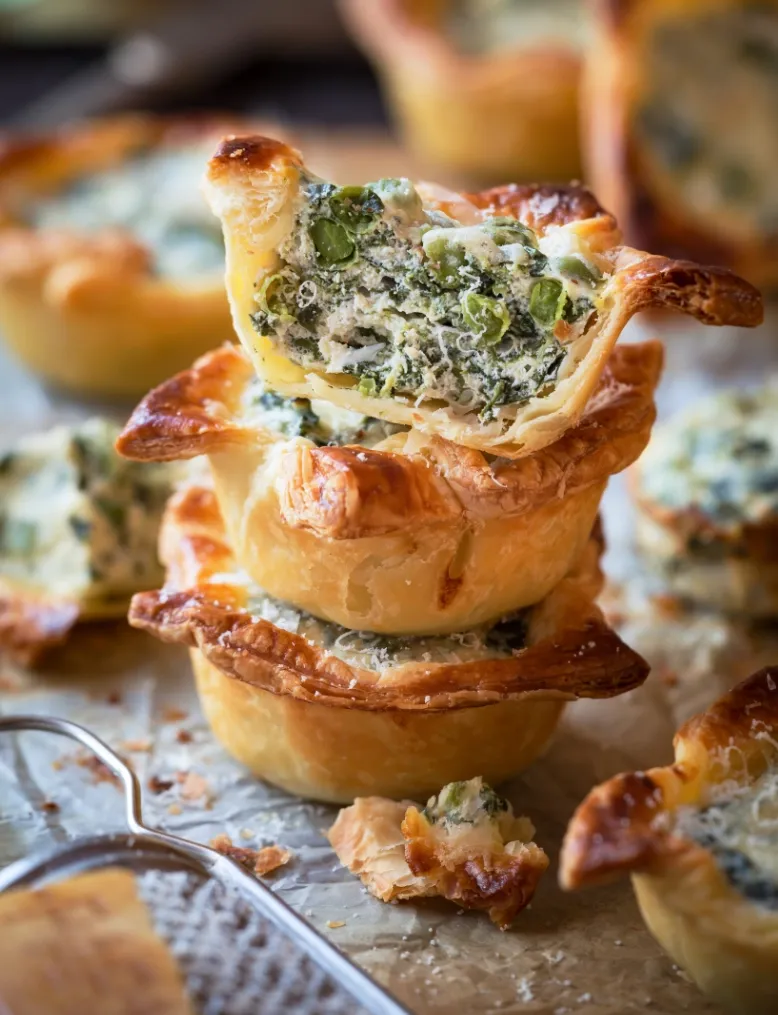
Spinach Ricotta Tarts
 Prep Time 15 minutes
  Cook Time 25 minutes
  Total Time 40 minutes
  Servings 6
Ingredients
Equipment

Instructions
1. Prep your vegetables
- If you're using fresh spinach, wilt it down in a pan with a tiny splash of water, takes about 2 minutes. Squeeze out all the excess water when it's cool enough to handle. Properly squeeze it. Soggy filling makes soggy pastry, and nobody wants that. Blanch the peas for 2 minutes in boiling water if they're fresh, or just defrost them if frozen. Drain well.
2. Make the filling
- Heat a splash of olive oil in a pan and cook the garlic for about 30 seconds, just until it smells good, not until it browns. In a bowl, mix the ricotta, cooked spinach, peas, garlic, Parmesan, lemon zest and nutmeg. Season well with salt and pepper. Taste it, it should be properly seasoned because the pastry's quite rich and buttery.
3. Prepare the pastry cases
- Preheat your oven to 200°C (180°C fan). Roll out your pastry if needed, you want it about 3mm thick. Cut out 6 circles, roughly 10-11cm in diameter. You need them big enough to line your muffin tin holes with a bit of overhang. Press each circle gently into a muffin hole, letting the pastry come up the sides and flop over the edge a bit. Don't worry about it being perfect, that rustic look is what you're after.
4. Fill the cases
- Brush the edges of the pastry with beaten egg, this'll give you that golden, shiny finish. Spoon the filling into each pastry case, filling them about three-quarters full. The pastry will puff up around the filling as it bakes, creating those lovely crispy edges.
5. Bake
- Bake for 20-25 minutes until the pastry's golden brown and properly puffed. The cases should be crisp on the outside and the filling set but still creamy. Let them cool in the tin for 5 minutes, they'll firm up a bit and be easier to remove. Run a knife around the edge if they're sticking, then lift them out carefully. They're quite sturdy once cool.
Notes
- If you don’t have a muffin tin, you can use individual tartlet tins or even make free-form tarts on a baking sheet, just fold the pastry up around the filling.
- You can swap the peas for broad beans, or use asparagus tips when they’re in season. Courgette works too if you cook it down first to get rid of the water.
- Add some crumbled feta with the ricotta if you want it a bit saltier and more tangy.
- These keep in the fridge for 2 days. Reheat in the oven at 180°C for 8-10 minutes to crisp the pastry back up.
- If you’re making them ahead, assemble everything but don’t bake. Cover and refrigerate, then bake when you need them. Add 5 minutes to the cooking time if they’re cold from the fridge.
- Make sure your spinach is really well squeezed, excess water is the enemy of crisp pastry.
About this recipe
These spinach ricotta tarts sit somewhere between Italian and French cooking, which is exactly where a lot of good food lives. The French have been making “feuilletés”, puff pastry cases filled with whatever’s available, for centuries. The ricotta element is pure Italian influence from the border regions, where the two cuisines have been quietly borrowing from each other for just as long.
Where this recipe comes from
In France, savoury puff pastry tarts are a staple of the traiteur counter and the home kitchen alike. Every good French bakery sells some version. The classic French filling would be goat’s cheese or crème fraîche, but ricotta works better here. It’s lighter, less sharp, and doesn’t compete with the spinach. Ricotta became popular in French home cooking in the 1970s and 80s when people started travelling to Italy more frequently and coming home with ingredients and ideas.
The spinach and ricotta combination itself is ancient. You find it in medieval Italian cooking manuscripts, usually in pasta fillings and stuffed vegetables. Add peas, as this recipe does, and you’ve got something that became fashionable in French nouvelle cuisine in the 1970s, when chefs started caring about vegetables looking fresh and vibrant on the plate rather than just being cooked into submission.
The technique behind puff pastry and ricotta tarts
The technique of pressing pastry into moulds and letting it puff up around a filling is classic French pâtisserie. You see the same principle in vol-au-vents, in those little savoury bouchées served at apéros, and in the tarts that line the windows of every decent boulangerie. The difference with these ricotta tarts is the approach to the edges. There’s no faffing about cutting neat lids or trimming perfectly even borders. The pastry gets pressed in, the filling goes on top, the edges fold over roughly. That rustic finish is deliberate and looks better than anything too neat.
This puff pastry ricotta tart style became fashionable in Parisian bakeries in the 1990s when the whole fait maison movement took off. Suddenly everyone wanted things that looked handmade rather than factory-produced. Bakers started deliberately leaving pastry edges rough and uneven. It turned out people would pay more for something that looked like their grandmother made it.
Getting the ricotta filling right
A good ricotta and spinach tart filling needs the moisture properly managed before anything goes into the pastry. Spinach holds a significant amount of water, and if you don’t squeeze it out thoroughly, that water releases during baking and makes the pastry soggy from the inside. Wilt the spinach, let it cool, then squeeze it in your hands until you can’t get any more liquid out. It sounds excessive. It isn’t.
The ricotta needs seasoning too. On its own, ricotta is fairly bland, which is part of why it works so well as a base. It takes on whatever you season it with, so be generous with salt, pepper, and nutmeg. Taste the filling before it goes into the pastry and adjust accordingly.
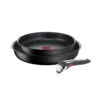
The right tin for individual tarts
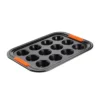
Individual spinach and ricotta tarts need a tin that holds them upright during baking, conducts heat evenly to crisp the pastry base, and releases cleanly once they’re done. I use the Le Creuset muffin tin for this. The non-stick surface means the pastry releases without tearing, which matters with puff pastry and ricotta since the filling can make the base slightly sticky. The even heat distribution gives you a properly crisped base rather than a pale, soft one. And the portion size is exactly right for individual tarts as a starter or light lunch.
How to serve them
These are versatile in a way that not many dishes are. Serve them warm as a starter with a small dressed salad. Pack them cold for a picnic or lunch. Put them out at room temperature as part of an apéro spread. They hold their shape well once cooled and taste good at any temperature, which is exactly the kind of practical French cooking this recipe comes from.
Share your feedback and spread the love!
If you try this recipe, I’d love to hear how it turns out! Leave a ★★★★★ rating and your thoughts in the comments, it helps fellow French foodies discover this recipe too. Snap a photo and tag me @obviously.french on Instagram if you’re sharing your bake or cooking online. Don’t forget to save this recipe to Pinterest so you’ll always have it handy for your next French-inspired meal!
Disclosure: Just so you know, this post contains sponsored content and/or affiliate links, If you make a purchase through these links, I may receive a small commission. Doesn’t cost you anything extra. I only link to things that are actually worth your time. All opinions are my own!