 October 6, 2025
Disclosure: This post may contain affiliate links which provide us a small commission when used for purchase. Please read my disclosure policy for more information. I am grateful for your support!
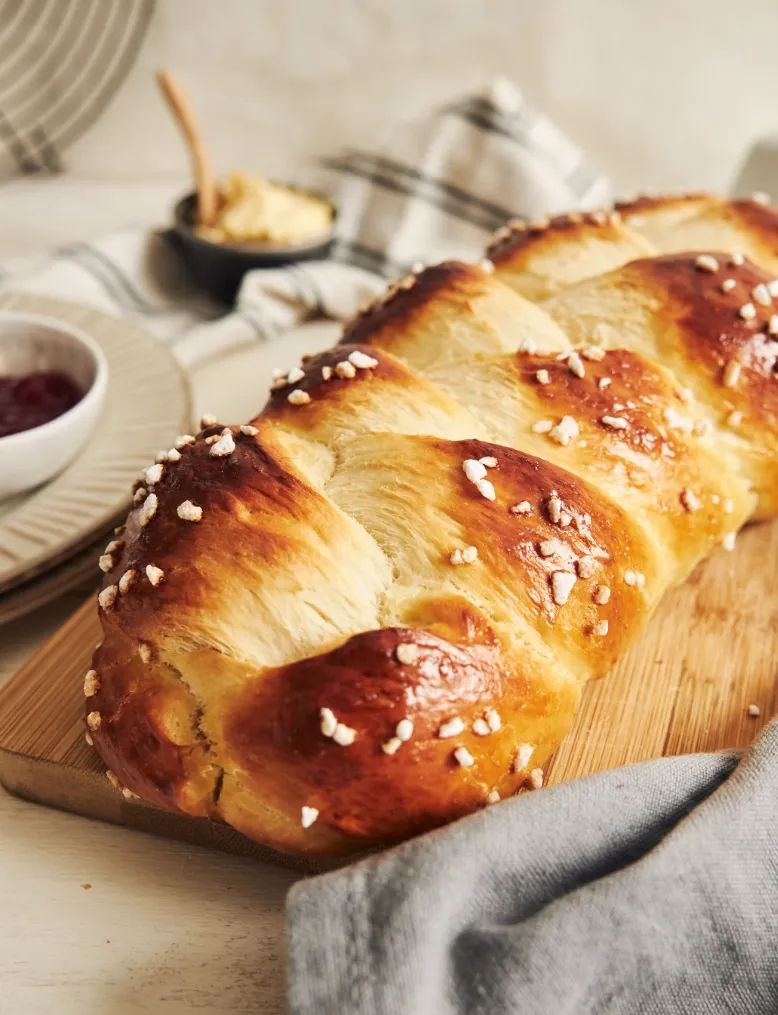
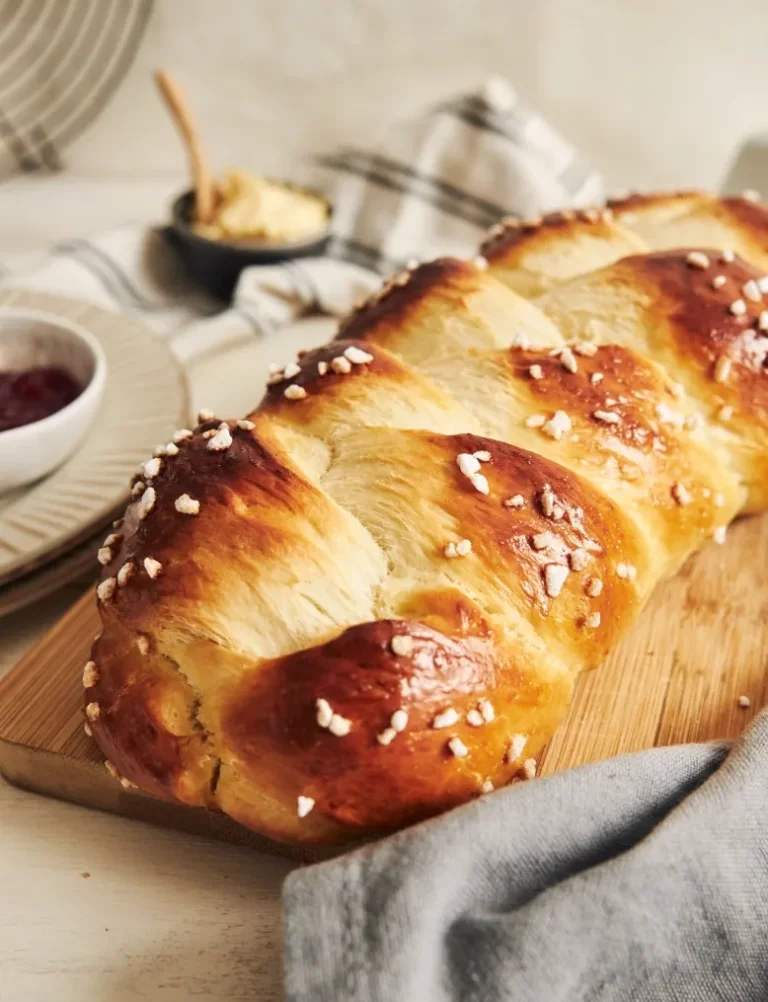
My husband loves his brioche, and a loaf never lasts long after baking. The beauty of this brioche bread is that it goes with sweet as well as savoury. You can spread jam on it, use it for burgers, or just eat it plain in the morning. I like mine with an espresso, and yes, I put extra butter on it, which makes no sense at all given the whole thing is already made of butter. It’s a French habit I can’t shake. And obviously you dip it in your coffee!
Table of Contents
Where brioche comes from
The word turns up in written French remarkably early: a local merchant document from 1404 lists “two breads and four brioches.” The name comes from the old Norman verb brier, an early form of broyer, meaning to work the dough with a broye, a wooden roller. The -oche suffix was tacked on for the finished product. Its home is Normandy, where exceptional butter made enriched dough a natural development. Gisors and Gournay were among the first towns known for it.
A good brioche uses good butter. At 500g flour to 150g butter this is a lighter, more bread-like brioche than the very rich pâtisserie versions (which push towards 2:1 flour to butter and are correspondingly harder to handle), but the butter is still the dominant flavour, so it’s not the place to economise!
Ingredients
- Plain flour — the structure. A strong bread flour gives a slightly chewier, taller loaf if you prefer that; plain flour keeps the crumb tender and cake-like.
- Butter — this is where the flavour lives. Use the best unsalted butter you can find, a good Normandy or high-fat European butter, because you taste it in every slice and cheap butter gives a flat, one-dimensional result.
- Eggs — richness, colour and structure. At room temperature, so they don’t chill the dough and slow the yeast.
- Whole milk — lukewarm, to wake the yeast and soften the crumb.
- Instant yeast — only 3g, because a rich dough rises slowly and a small amount over a long time gives better flavour than a lot in a hurry.
- Caster sugar — enough to sweeten gently and feed the yeast, not enough to make it a cake. This is why brioche works with savoury things too.
- Salt — essential. Without it the loaf tastes strangely hollow, however much butter is in it.
How to make brioche
1. Wake the yeast and build the dough
Milk just lukewarm, around body temperature. Too hot and you kill the yeast before you start. Flour, sugar and salt in the bowl, then the foamy milk and the eggs, and mix until it comes together.
2. Add the butter and mix
Softened butter, a few cubes at a time, with the mixer running. Fifteen minutes is not an exaggeration. The dough goes from shaggy and unpromising to smooth, elastic and glossy, pulling away from the bowl while still slightly sticky. Stopping early is the most common reason a brioche comes out dense.
3. Resist adding flour
It will feel too sticky. That stickiness is the butter and the eggs, and it’s meant to be there. Every extra spoon of flour you work in to make yourself feel better costs you tenderness in the finished loaf.
4. First rise, then chill properly
Somewhere warm until doubled, then knock it back and into the fridge. This is the step people cut short, and it’s the one that decides whether you can shape the dough at all. Cold dough handles beautifully; warm dough is a sticky argument.
5. Shape, prove, glaze, bake
Divide into equal balls and set them in the tin so they rise together into that classic segmented loaf. Prove until doubled and puffy, brush gently with egg yolk (gently, or you’ll deflate it), and bake until deep golden and hollow-sounding underneath. Cool completely before slicing, or the crumb tears and turns gummy.
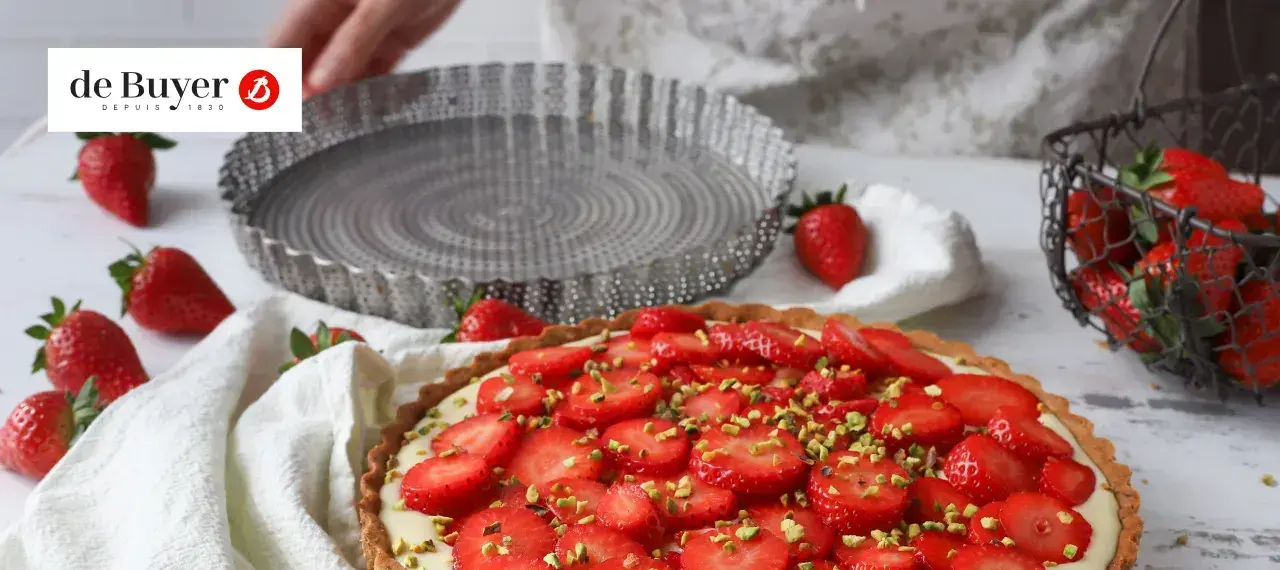
Tools for this recipe
Check out my favorite kitchen essentials and cookware!
- Use a stand mixer with a dough hook, because this dough needs fifteen minutes of steady mixing and is far too slack and sticky to knead comfortably by hand.
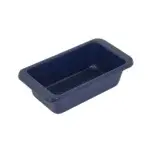
- Use an aluminised steel loaf pan to conduct heat evenly to the base and sides, which enriched doughs need so the outside doesn’t set before the inside has finished rising.
- Use a pastry brush to glaze the risen dough with egg yolk without knocking the air out of it.
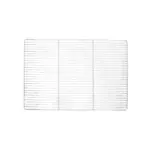
- Use a cooling rack so air circulates underneath and the base doesn’t go soggy as it cools.
Tips for success
- Weigh everything, especially the flour. Brioche is a ratio, and a heavy-handed cup of flour will give you a dry, bready loaf rather than a tender one. This is one recipe where scales genuinely matter.
- Room-temperature eggs, lukewarm milk. Cold ingredients slow the yeast and make the butter seize as it goes in, which stops it emulsifying properly into the dough.
- Mix past the point where you think it’s done. The window-pane test works here: stretch a piece thin enough to see light through it without tearing. If it tears, keep going.
- If the dough splits or looks curdled, keep mixing. Adding butter too fast can make it look broken and greasy. It almost always comes back together with another few minutes, so don’t panic and don’t add flour.
- Chill overnight if you possibly can. Better flavour, far easier shaping, and you can bake it fresh for breakfast. A one-hour chill works, but the overnight version is a noticeably better loaf.
- Don’t over-prove the second rise. Enriched dough that’s proved too far collapses in the oven. It should look puffy and pillowy and spring back slowly when pressed, not look strained and about to burst.
- Tent it with foil if it’s browning too fast. All that egg and sugar means brioche colours long before it’s cooked through. Cover the top and keep baking rather than pulling it out early.
- Let it cool completely before cutting. The crumb is still setting. Slicing a hot brioche compresses it into something gummy, which is a sad end to five hours of work.
How to store it
- At room temperature: Wrapped in a clean cloth or a paper bag, 2 to 3 days. Don’t use an airtight plastic bag, it traps moisture and softens the crust. Brioche stales faster than plain bread because of the fat, but stale brioche has a purpose (see below).
- In the freezer: This is the best way to keep it. Freeze it whole and well wrapped, or slice it first and freeze the slices flat, so you can toast them straight from frozen. It keeps 2 to 3 months and the texture holds up remarkably well. You can also freeze the shaped, unbaked dough after the first rise, then thaw and prove overnight in the fridge.
- In the fridge: Avoid it. Refrigeration makes bread go stale faster, not slower. The fridge is for the dough, not the finished loaf.
More dessert recipes to try
Variations
- Brioche french toast (pain perdu): day-old brioche is genuinely better than fresh for this. Fresh brioche is too soft and wet to hold up to soaking, whereas slightly stale slices absorb the egg custard evenly and fry to a proper custardy middle with crisp edges. Slice thickly, leave uncovered overnight, and it’ll be exactly right in the morning.
- Bread and butter pudding: the other great use for a loaf on its last day, and it works better than plain bread because the butter is already in it.
- Brioche burger buns: divide into individual rounds instead of a loaf and bake for less time. The richness against a good filling is why these have taken over, and homemade ones are miles better than shop-bought.
- Praline or chocolate: work chunks of dark chocolate or crushed pink pralines into the dough at shaping. The Lyonnais brioche aux pralines is the pink, sugary, entirely over-the-top version and worth making once!
- Orange flower water: a tablespoon in place of some of the milk gives the traditional perfumed brioche you find in the Vendée and the south.
- Less sugar. Easy here, because the sugar is flavour rather than structure, the butter and eggs do the work. Drop to 25–30g for something closer to a savoury loaf that still browns properly. Below that the crust colours poorly and it starts to taste plain, so I wouldn’t go further.
FAQ
Why is my brioche dense and not fluffy?
Almost always under-mixing, adding extra flour, or a rushed rise. The dough needs a full fifteen minutes of mixing to develop, it’s supposed to be sticky, and enriched dough rises slowly so it can’t be hurried.
Do I have to chill brioche dough overnight?
You need to chill it, or you can’t shape it, since the butter has to firm back up. An hour is the minimum, but overnight gives better flavour and much easier handling.
Can I make this brioche bread recipe without a stand mixer?
It’s possible but hard work. The dough is very sticky and needs long, sustained kneading, so by hand expect 25 to 30 minutes and a messy worktop. A mixer with a dough hook is the sensible route.
What’s the best bread for French toast?
Day-old brioche, thickly sliced. It’s rich enough to give a custardy middle and stale enough to absorb the egg mixture without falling apart, which fresh bread can’t do.
Can I freeze brioche?
Yes, and it freezes very well. Slice it before freezing so you can toast straight from frozen, and it’ll keep 2 to 3 months.


 Prep Time 30 minutes
  Cook Time 25 minutes
  Total Time 1 hour
  Servings 8
Description
Ingredients
- 500 gr plain flour
- 3 gr instant yeast
- 100 ml whole milk lukewarm
- 50 gr caster sugar
- 1 tsp salt
- 4 egg room temperature
- 150 gr unsalted butter softened, cut into small cubes
- 1 egg yolk, for glazing
Equipment

Instructions
1. Activate the yeast
- Warm the milk until just lukewarm (around 37°C). Stir in the yeast until dissolved and leave for 5–10 minutes until foamy.
2. Mix the dough
- In the stand mixer bowl, combine the flour, sugar and salt. Attach the dough hook. Add the foamy yeast-milk mixture and the eggs, and mix on low speed to bring the dough together.
3. Incorporate the butter
- Gradually add the softened butter, a few cubes at a time, while mixing. Continue for at least 15 minutes on medium speed. The dough should become smooth, elastic and glossy, slightly sticky but pulling away from the bowl.
4. First rise
- Cover the bowl and leave to rise somewhere warm (24–28°C) for 1–2 hours, until doubled in size.
5. Chill and shape
- Gently knock back the dough. Refrigerate for at least 1 hour, or preferably overnight, to firm up the butter and make shaping possible. Divide into 8–10 equal portions and shape each into a smooth ball.
6. Second rise in tin
- Place the balls into a greased loaf pan. Cover and leave to rise for 1–1.5 hours, until doubled and puffy.
7. Prepare for baking
- Preheat the oven to 180°C (160°C fan). Brush the risen brioche gently with beaten egg yolk for a shiny, golden crust.
8. Bake
- Bake in the centre of the oven for 25 minutes, until deep golden and hollow-sounding when tapped underneath. Tent with foil if it colours too quickly.
9. Cool
- Cool completely on a wire rack before slicing.
Notes
- For best results, ensure all ingredients are at room temperature to help the yeast activate smoothly.
- The chilling step after the first rise is key to achieving the brioche’s delicate, buttery flakiness and ease of handling.
- Brioche dough is sticky but resist adding too much flour!
- Patience during rising is essential for light texture.
Share your feedback and spread the love!
If you try this recipe, I’d love to hear how it turns out! Leave a ★★★★★ rating and your thoughts in the comments, it helps fellow French foodies discover this recipe too. Snap a photo and tag @obviously.french on Instagram. Come talk about it in our Facebook group. And don’t forget to save this recipe to Pinterest so you’ll always have it handy for your next French-inspired meal!