 July 1, 2026
Disclosure: This post may contain affiliate links which provide us a small commission when used for purchase. Please read my disclosure policy for more information. I am grateful for your support!
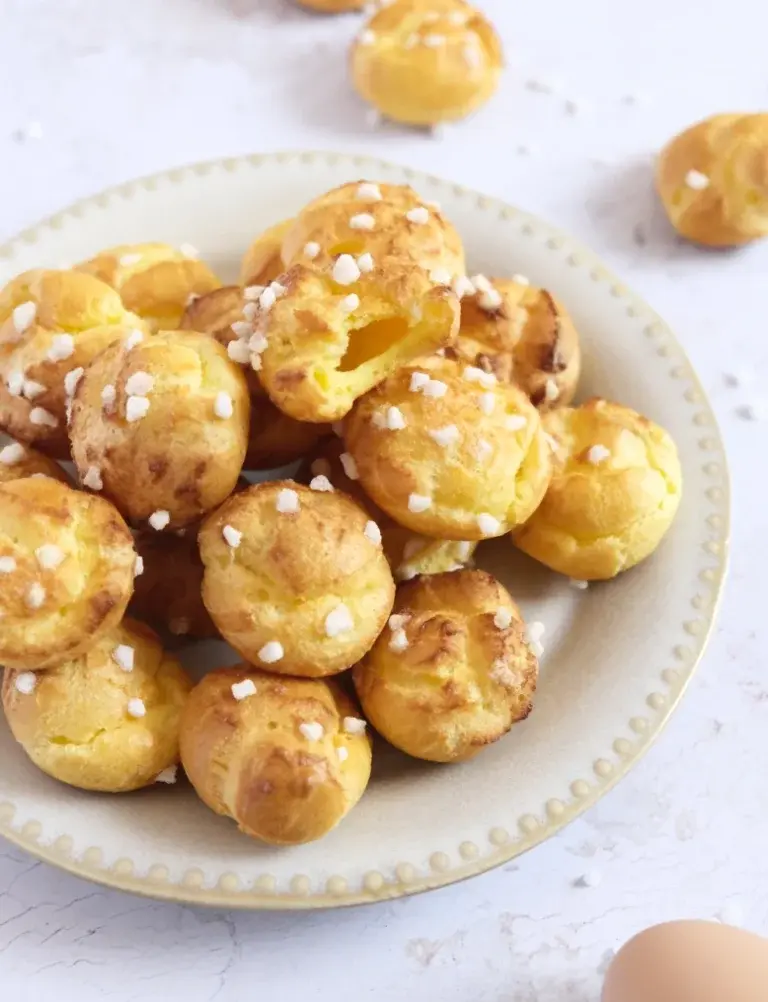
I love chouquettes. They’re my go-to when I’m invited to someone’s house for coffee because they travel well in a paper bag, they look like you made an effort, and everyone gets excited when they see them. They also happen to be one of the easiest things you can make from French pâtisserie once you understand the choux pastry dough. And they go brilliantly with a cup of coffee (just like Madeleines), which in my house is basically the highest praise a baked good can receive.
Once this french choux pastry dough feels familiar, you will have the foundation for a whole world of French pâtisserie. Éclairs, Paris-Brest, profiteroles, religieuses, gougères: all made from exactly the same dough with different shaping, filling, and finishing. Chouquettes are the best place to start because they’re the most forgiving and the most immediately satisfying. Get these right and everything else follows naturally.
Table of Contents
Where chouquettes comes from
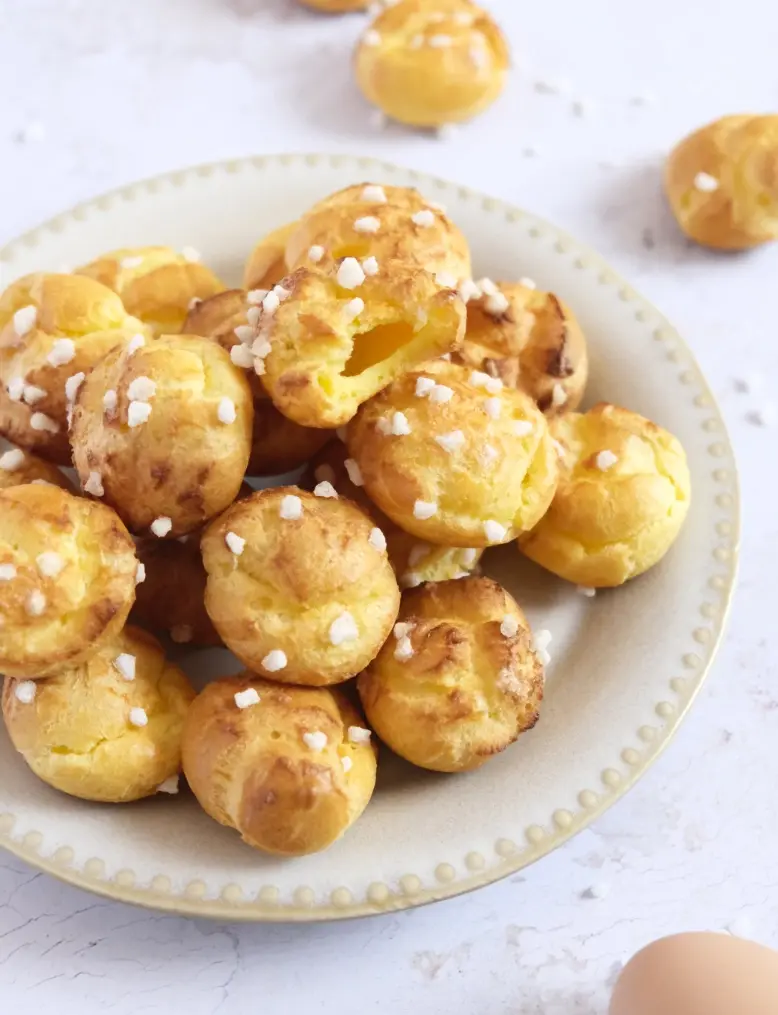
A chouquette is a small unfilled french choux pastry covered in pearl sugar. That’s it. The word comes from “chou,” which means cabbage in French, with the diminutive “ette” added on the end, so you end up with “little cabbage.” Which is also a French term to call your loved one! The name comes from the round, slightly irregular shape of the baked puff, which reminded people of a small head of cabbage.
What makes them so good is the contrast: crispy golden shell, completely hollow airy interior, and the hard crunch of pearl sugar on top. Three textures in one tiny pastry. It sounds simple because it is, but getting all three right at the same time requires the technique to be correct from start to finish.
Ingredients
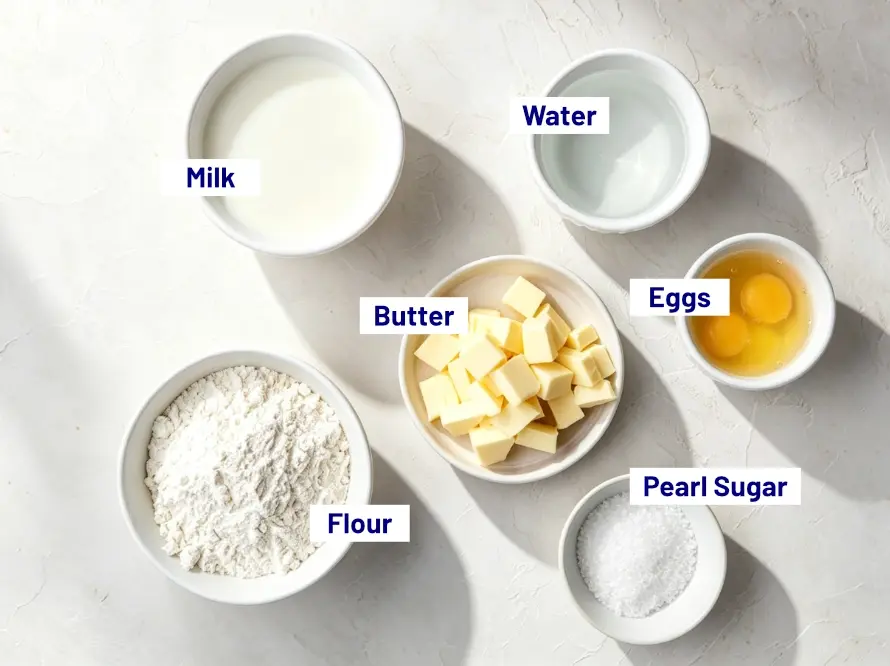
- Eggs – Weigh them, don’t count them. You want exactly 125g of beaten egg, which depending on size is usually 2 to 3 eggs.
- Flour – Sifted, so it goes into the hot liquid without lumping.
- Butter – Unsalted, cut into small cubes so it melts fully before the liquid boils. If the liquid boils before the butter’s gone, too much water evaporates and your ratios shift.
- Pearl sugar – This is the one you can’t substitute. Sucre perlé is made of large, hard, opaque white crystals that hold their shape in the oven. Regular sugar just melts and vanishes.
- Milk and water – Equal parts, for the reasons above. Go all-water for crisper, all-milk for softer, if you have a preference.
- Salt – Just enough to season the dough. Chouquettes are sweet, but flat without it.
How to make chouquettes
1. Make and dry the panade
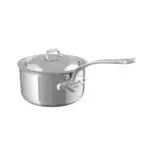
Butter, milk and water go in the saucepan cold together, and you want the butter fully melted before it hits a rolling boil. Take it off the heat, then tip in all the flour and salt at once and beat hard with a heat-resistant spatula until it forms a smooth ball. Back on medium heat, keep it moving for 4 to 5 minutes. You’re done when it films the base of the pan and smells faintly of warm biscuit. This step is what makes them puff, so don’t cut it short.
2. Cool it, then add the eggs slowly
Beat the paste on its own for 2 to 3 minutes to cool it. It has to stop steaming, or the egg will starts to scramble and you will get dense puffs. Add the beaten egg a splash at a time, beating fully between each. It’ll look split and slimy, then come smooth again. Stop when the dough drops off the spatula in a soft pointed V. You might not need all 125g, so watch the dough carefully.
3. Pipe and sugar
Pipe rounds 3 to 4cm across, well spaced, then dip a spoon in milk and press down every peak or they’ll burn to bitter and burned points. Pour pearl sugar along each row and tip the tray to coat, pressing lightly so it grips. Tip off the loose sugar so you don’t waste it and your baking mat stays clean.
4. Bake, and leave the door shut
Place the tray into a hot oven, and don’t open the door once, not even for a peek! Cold air makes them sink and they won’t recover from it. They’re done at 25 to 30 minutes when they’re deep golden all over, grooves and sides included, not just the domes.
Tools for this recipe
Check out my favorite kitchen essentials and cookware!
- Use a heat-resistant spatula to effortlessly mix the panade
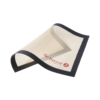
- I use my trusty, affordable baking mat for this recipe.
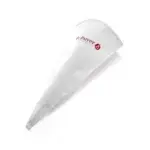
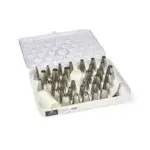
- I use my DeBuyer piping bag and nozzles for perfect shapes
Tips for success
- The panade must be properly dried out. After the flour goes in, keep it on the heat and keep stirring for 4 to 5 minutes, until it pulls cleanly away from the sides and leaves a thin film on the base of the pan. Skip this and the choux won’t puff.
- Let it cool before the eggs go in. If the paste is still steaming it’ll start to cook the egg, and the dough will be wrong. Beat it in the bowl for 2 to 3 minutes first.
- Add the egg a little at a time. Stop when the dough is smooth, shiny, and falls from the spatula in a pointed V. You may not need all 125g, so watch the consistency rather than the jug.
- Flatten the peaks. Dip a spoon or your finger in milk and gently press down any points after piping, or they’ll catch and burn.
- Do not open the oven door. Not once, not even for a peek! Cold air makes the choux collapse and they won’t come back from it.
How to store it
- Chouquettes are at their absolute best within an hour of baking, warm, while the shell’s still crisp. They soften overnight, which is just the nature of choux. To bring leftovers back, refresh them in a 180°C oven for 5 minutes and the crunch returns.
- They also freeze well once baked. Reheat straight from frozen at 180°C for about 8 minutes.
- You can also get ahead by making the raw dough in advance: it keeps overnight in the fridge in a sealed piping bag, ready to pipe and bake the next day.
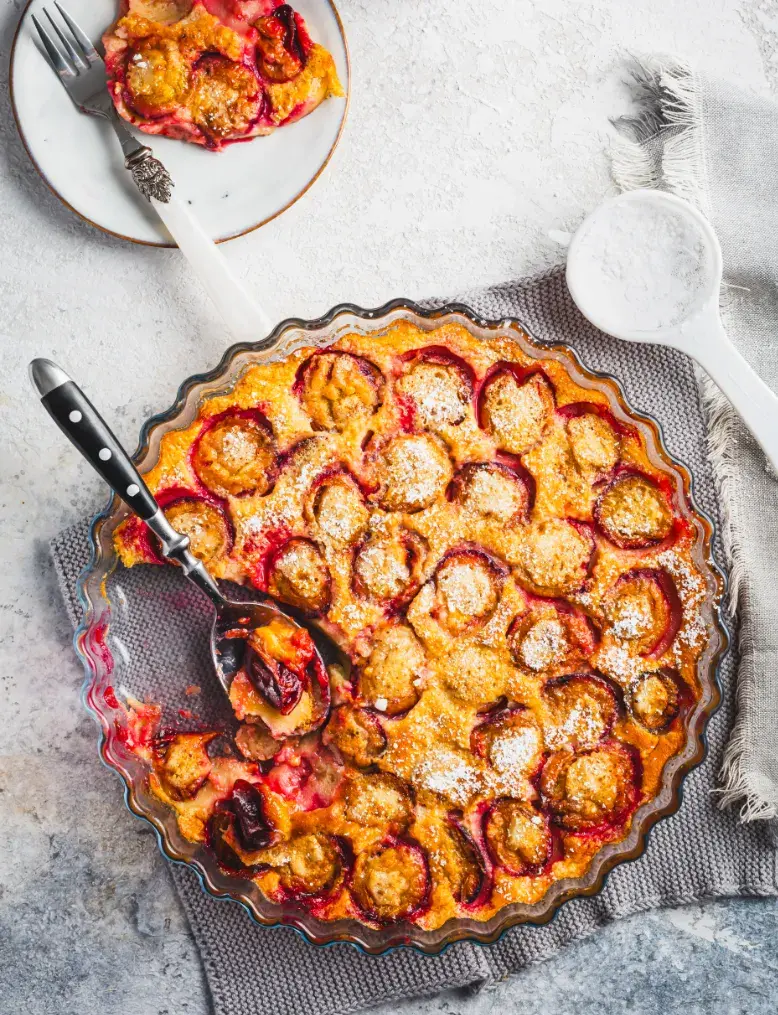
More dessert recipes to try
Variations
- Sometimes when I’m feeling indulgent, I make a small bowl of whipped cream and pipe it into the bottom of each cold chouquette with a piping bag and nozzles. Completely irresistible. This turns them into tiny choux à la crème!
- And on days when I want something a little lighter, I skip the pearl sugar entirely and add a small amount of sugar directly into the pastry instead. Same gorgeous dough, just a bit less sweet.
- And you can use small chocolate chips instead of pearl sugar to press onto the tops before baking. Or use a mix of both.
FAQ
Why aren’t my chouquettes puffing up?
Almost always the panade wasn’t dried out enough, or the oven door got opened. Cook the paste longer on the stove until it films the base of the pan, and once they’re in the oven, leave the door shut.
Can I make chouquettes ahead of time?
Yes. The raw choux pastry dough keeps overnight in the fridge in a sealed piping bag, so you can pipe and bake fresh the next day. Baked chouquettes are best eaten within an hour but freeze well and reheat from frozen at 180°C for 8 minutes.
Can I use regular sugar instead of pearl sugar?
No. Regular sugar melts in the oven and disappears. You need proper pearl sugar (sucre perlé), which holds its shape and gives that signature crunch.
What’s the difference between chouquettes and profiteroles?
Same dough. Chouquettes are small and left unfilled, topped with pearl sugar. Profiteroles are filled (classically with ice cream or cream) and sauced with chocolate.


 Prep Time 20 minutes
  Cook Time 30 minutes
  Total Time 50 minutes
  Servings 45 chouquettes
Description
Ingredients
- 62 ml whole milk
- 62 ml water
- 50 gr unsalted butter cut into small cubes
- 75 gr plain flour sifted
- 125 gr eggs beaten
- 1.5 gr salt
- 40 gr pearl sugar
Equipment

Instructions
1. Weigh the eggs and heat the liquid
- Beat the eggs and weigh exactly 125g into a jug. Set aside. Put the milk, water and butter into a small saucepan over medium heat. Bring to a rolling boil, making sure the butter melts fully before the liquid boils.
2. Add the flour
- Take the pan off the heat. Tip in the sifted flour and salt all at once. Stir hard with a heat-resistant spatula until it comes together into a smooth ball with no lumps. This is the panade.
3. Dry out the panade
- Return the pan to medium heat. Cook, stirring constantly, for 4 to 5 minutes, until the paste dries out, pulls cleanly from the sides, and leaves a thin film on the base of the pan. Don't rush this step.
4. Cool the panade
- Transfer to a bowl or stand mixer. Beat with a spatula or the paddle attachment for 2 to 3 minutes to cool it. It must stop steaming before the eggs go in.
5. Add the eggs gradually
- Add the beaten egg a little at a time, beating well between each addition. Stop when the dough is smooth, shiny, and falls from the spatula in a pointed V. You may not need all 125g.
6. Pipe the chouquettes
- Heat the oven to 180°C fan / 200°C conventional. Line a tray with baking paper. Fit the piping bag with a plain 8 to 10 mm nozzle. Pipe rounds about 3 to 4 cm across in staggered rows, spaced well apart. Dip a spoon or finger in milk and press down any peaks so they don't burn.
7. Add the pearl sugar
- Pour pearl sugar along one row at a time, tipping the tray to roll and coat each puff generously. Press lightly so it sticks. Tip off the excess.
8. Bake
- Bake for 25 to 30 minutes without opening the door at any point. They're ready when deep golden all over and the grooves are coloured. Cool 5 minutes on the tray, then move to a wire rack.
Notes
- Weigh your eggs instead of counting them: You need exactly 125g of beaten egg. Depending on the size of your eggs this could be 2 or 3. Weigh them beaten in a jug and stop at 125g.
- Dry the panade properly: Cook and stir for 4 to 5 minutes until it films the base of the pan. This is what lets the choux puff.
- Cool before adding eggs: The panade must stop steaming before you add the eggs. Beat it in the bowl for 2 to 3 minutes first to cool it down.
- Do not open the oven door: Cold air collapses the choux and they won’t recover.
- Pearl sugar only: Regular sugar melts. You need pearl sugar, large, hard, opaque white crystals.
- Eat warm: Chouquettes are at their absolute best within an hour of baking. Refresh leftovers in the oven at 180°C for 5 minutes.
- Make ahead: The raw pâte à choux keeps in the fridge overnight in a sealed piping bag. Pipe and bake the next day.
- Freezing. Baked chouquettes freeze well. Reheat from frozen at 180°C for 8 minutes.
Share your feedback and spread the love!
If you try this recipe, I’d love to hear how it turns out! Leave a ★★★★★ rating and your thoughts in the comments, it helps fellow French foodies discover this recipe too. Snap a photo and tag @obviously.french on Instagram. Come talk about it in our Facebook group. And don’t forget to save this recipe to Pinterest so you’ll always have it handy for your next French-inspired meal!