 December 24, 2025
Disclosure: This post may contain affiliate links which provide us a small commission when used for purchase. Please read my disclosure policy for more information. I am grateful for your support!
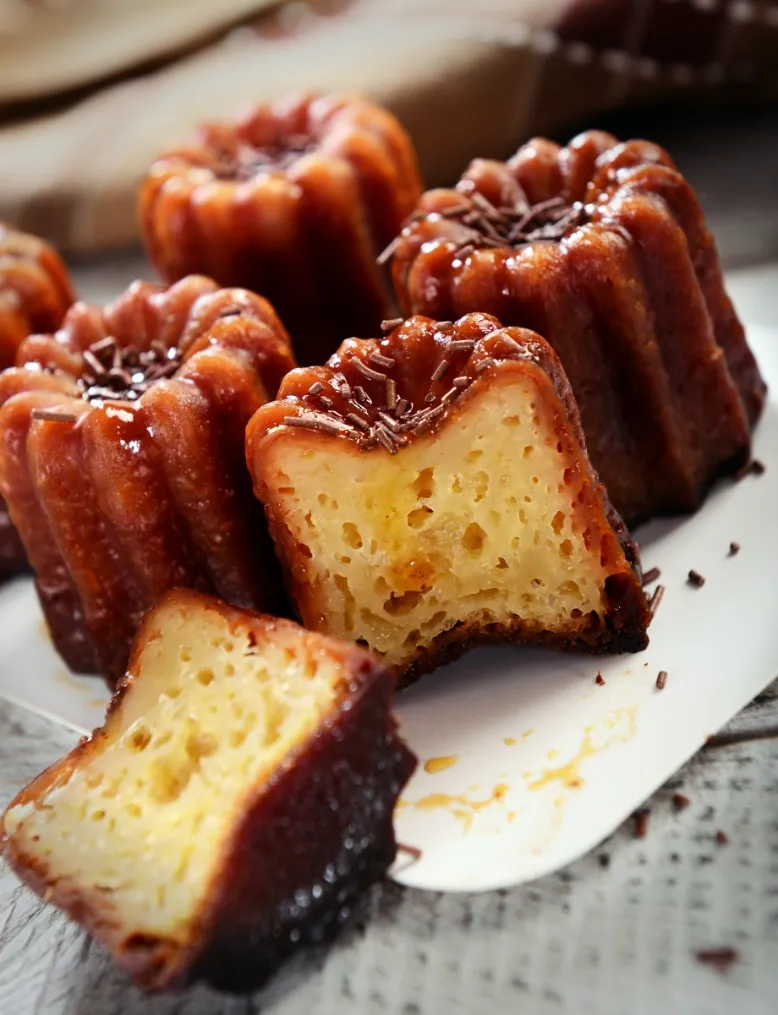
I still remember my first canelé de Bordeaux, a friend went to Bordeaux and kindly brought some home for me, from the canelé’s actual birthplace, from one of the best bakeries in the city. Full of anticipation, I took my first bite. That crisp, dark shell giving way to a soft, gooey middle, perfumed with vanilla and rum, was unlike any cake I knew!
I’ll be honest with you, though: canelés are the one bake I both love and slightly dread. When they work, dark and crackly outside, soft and custardy within, there’s no pastry I’d rather have with a coffee. When they don’t, they’re pale, or they stick, or they sink, and you just have start all over again. But that’s part of the game!
So here’s the canelés bordelais recipe I’ve settled on after a good few disasters. If you’ve a day off and fancy a proper challenge with a big reward at the end, this is the one. Get yourself the iconic moulds and you’re most of the way there!
Table of Contents
Where Canelés de Bordeaux comes from
Canelés come from Bordeaux, and their story runs straight through the city’s wine trade. For centuries, Bordeaux winemakers clarified their wine using egg whites, a process called fining, whisked into the barrels to draw out impurities. That left them with a great surplus of egg yolks, which they gave to the local convents. The nuns, most often the story names the Couvent des Annonciades, turned those yolks into little cakes to feed poor children. That’s the canelé, more or less, born of wine and thrift.
The exact origins are hazy (the records were lost through the Revolution and various wars), but the wine-and-yolks connection is the thread everyone agrees on. Bordeaux’s position as a great port city shaped the rest: the rum and vanilla that flavour a canelé arrived through the same maritime trade that made the city rich.
There was even a guild. The canauliers, the pastry makers who made these cakes, registered in the 17th century, and here’s a detail I love: for about a century they were forbidden from using milk and sugar, because a rival pastry guild held the monopoly on those. It took a royal edict to sort it out. Imagine going a hundred years unable to put sugar in your cakes!
The pastry faded after the Revolution, when the guilds were abolished and the convents closed, then was revived and refined in Bordeaux in the early 20th century, which is when the rum, the vanilla and the fluted copper moulds became fixed. And in 1985, a brotherhood of Bordeaux pastry chefs formed to protect it, and formally dropped an “n” from the old spelling cannelé, making it canelé, to mark out the true Bordeaux version from the imitations. So the single “n” is itself a little badge of authenticity.
Why canelés are difficult (and how to beat it)
There’s no point pretending otherwise: canelés are one of the trickiest things in French baking. But the difficulty comes down to a few specific things, and once you know them, your odds improve enormously.
The batter must rest
The batter needs to rest in the fridge for at least 24 hours, ideally 48, before baking. This lets the flour hydrate fully and, crucially, relaxes the gluten so the canelés don’t puff up and turn cakey inside. A rested batter is what gives you that dense, custardy centre. Skip it and you’ve made little cakes, not canelés.
The canelés de Bordeaux moulds
Traditional canelés are baked in fluted copper moulds, and there’s a real reason for it: copper conducts heat fiercely and evenly, which is what builds that thick, dark, caramelised crust. Silicone moulds work and are far cheaper, but you won’t get quite the same crust, that’s just the honest truth. If you make canelés more than once or twice, the copper is worth the (considerable) investment.
The wax
The classic method coats the moulds in beeswax (usually mixed with a little butter), which gives canelés their signature crackly, glossy, almost lacquered shell. It’s fiddly, melting wax and coating moulds, but it’s the thing separating a home canelé from a bakery one. Butter alone works and is much easier but you won’t get quite the same shatter.
The bake is hot
Canelés start in a very hot oven to blast the crust, then the heat comes down to cook the custardy centre through without burning the outside. Getting that crust properly dark, almost to the point where you think it’s too far, is what you’re after. A pale canelé is an underbaked one.
Ingredients
- Whole milk – The base of the custard batter, infused with vanilla first.
- Egg yolks – The soul of the canelés de Bordeaux, and the historical heart of the story. They give the rich, custardy centre.
- Sugar – For sweetness and, vitally, for the caramelisation of that dark crust.
- Plain flour – Just enough for structure. A canelé is more custard than cake.
- Butter – A little melted into the batter, and for the moulds.
- Dark rum – Essential and traditional, arriving via Bordeaux’s port. It perfumes the whole thing.
- Vanilla – A pod, ideally, infused into the milk. The other defining flavour.
- Beeswax – For coating the moulds, if you want the authentic crust (optional but classic). Make sure it’s food grade beeswax.
How to make Canelés de Bordeaux
1. Make the batter (the day before, at least)
Warm the milk with the split vanilla pod and a little butter until it just steams, then let it infuse. Whisk the sugar, flour and a pinch of salt, then the egg yolks (and any whole egg), then pour on the warm milk gradually, whisking to a smooth, thin batter, about the consistency of crêpe batter. Stir in the rum. Then, and this is the important bit, cover it and rest it in the fridge for at least 24 hours, ideally 48. Don’t skip this.
2. Prepare the moulds
If using beeswax: melt it with a little butter, brush or pour it into each mould, then invert to pour out the excess, leaving a thin coat. Chill the moulds so it sets hard. If using butter alone, brush the moulds generously and chill. Either way, cold, well-coated moulds are what release the canelés cleanly and build the crust.
3. Bake hot, then lower
Whisk the rested batter gently to recombine (it separates as it sits), then fill each mould to about 5mm from the top, since they rise a little. Bake in a very hot oven to set and darken the crust, then lower the heat and bake on until the outsides are deep, dark mahogany brown, almost too dark, and the insides are just set and custardy. Unmould them straight away (they should drop out of well-waxed moulds) and cool on a rack. They’re at their best a couple of hours later, when the crust has firmed but the centre’s still soft.
Tools for this recipe
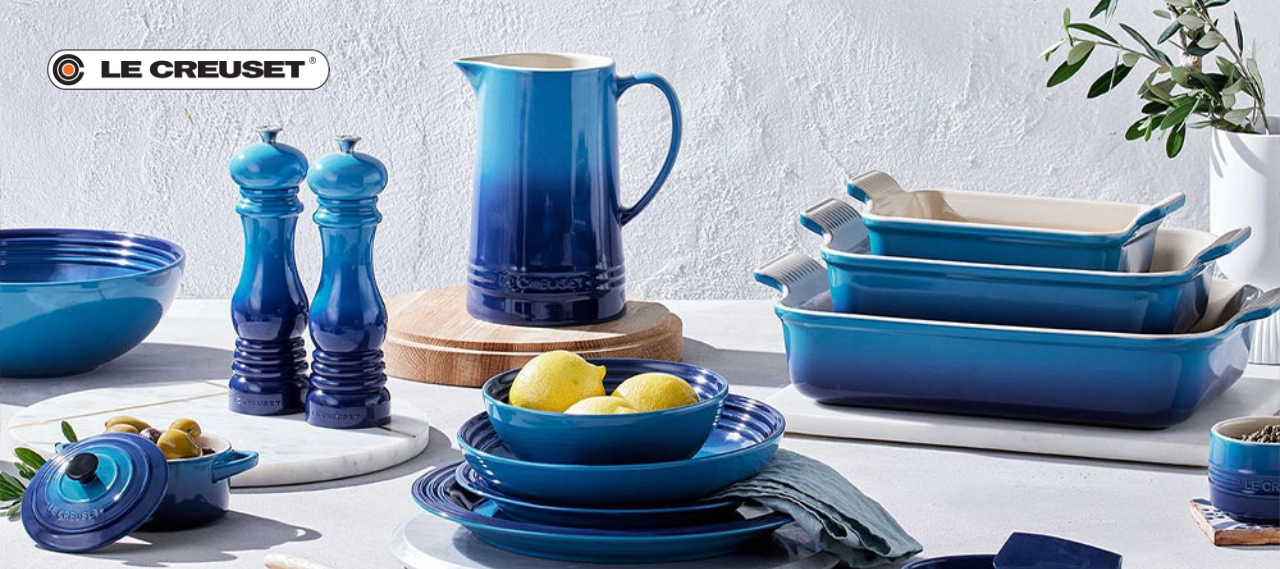
Check out my favorite kitchen essentials and cookware!
- Use copper canelé moulds for the authentic dark, crackly crust, since copper conducts heat like nothing else (silicone moulds work, but the crust is softer).
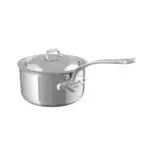
- Use a saucepan to infuse the milk gently with vanilla.
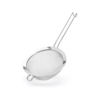
- Use a sieve to strain the batter silky before it rests.
- Use a pastry brush to coat the moulds with wax or butter.
Tips for success
- Rest the batter for a full day, minimum: 24 hours, ideally 48, in the fridge. It hydrates the flour and relaxes the gluten, giving the dense, custardy centre. A rushed batter makes cakey canelés.
- Get the crust properly dark: canelés de Bordeaux should be deep mahogany, almost burnt-looking, on the outside. Don’t worry, that’s caramelisation, not burning. A pale canelé is underbaked and won’t have the crackle.
- Use well-coated, cold moulds: whether wax or butter, coat them well and chill them so the coating sets before the batter goes in. This releases them cleanly and builds the shell.
- Whisk the rested batter gently before baking: it separates as it rests, so give it a gentle stir to recombine, but don’t whip air into it, or you’ll get holes.
How to store it
- Canelés are gloriously good for about the first day, and there’s a specific window: they’re at their peak a couple of hours after baking, when the crust is crisp and the centre soft, and they stay lovely for the rest of that day.
- The hard truth is they don’t keep well. By the next day the crust softens and loses its crackle, which is most of the joy. Keep them at room temperature, uncovered or loosely covered, and eat them the day they’re made. Don’t refrigerate them, as the fridge softens the crust fast (Bordeaux bakeries will tell you the same).
- You can revive day-old canelés a little by crisping them in a hot oven for 5 minutes, which brings some of the crust back. And the batter, happily, keeps for up to 3 days in the fridge (it needs at least one), so you can bake a fresh few whenever you fancy, which is the real make-ahead trick.
More classic recipes to try
Variations
- Butter instead of beeswax: coat the moulds in butter alone. Far easier, and still very good, just a slightly softer crust than the waxed version.
- Silicone canelés moulds: cheaper and easier to unmould, with a softer, less caramelised crust. A perfectly good way to start before committing to copper.
- Less sugar: the sugar is doing structural work here, since it’s what caramelises into the dark crust that defines a canelé, so you can’t reduce it much without losing the crust. Cutting it isn’t really an option in this recipe; it’s part of what a canelé is.
- Orange or citrus: a little orange zest infused into the milk alongside the vanilla, for a citrus note.
- Different spirit: Cognac or Armagnac instead of rum (both very South-West France), for a different perfume.
- Coffee canelés: a little strong espresso in the batter, lovely with the rum and caramel.
FAQ
What is a canelé de Bordeaux?
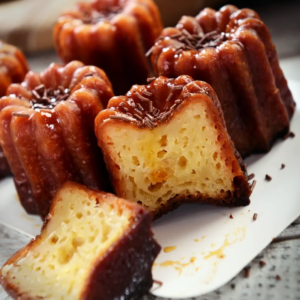
A canelé is a small French pastry from Bordeaux with a thick, dark, caramelised, crackly crust and a soft, custardy centre flavoured with rum and vanilla. It’s baked in a distinctive fluted mould. The contrast between the crisp shell and the tender, almost molten inside is what makes it special.
Why do canelés need to rest overnight?
Resting the batter for at least 24 hours (ideally 48) in the fridge lets the flour hydrate fully and relaxes the gluten. This is what gives canelés their dense, custardy centre rather than a light, cakey one. It’s the single most important step, and it can’t be skipped.
Do I need copper moulds to make canelés?
Not strictly, but copper gives the authentic result. Copper conducts heat intensely and evenly, which builds the thick, dark, caramelised crust canelés are famous for. Silicone moulds work and are much cheaper, but the crust will be softer and less caramelised. Copper is worth it if you’ll make them often.
What is the beeswax for?
Coating the moulds in beeswax (usually with a little butter) gives canelés their signature crackly, glossy, lacquered crust and helps them release cleanly. It’s the traditional method and the biggest thing separating a home canelé from a bakery one. Butter alone works too, with a slightly softer crust.
Why are my canelés pale or cakey?
Pale usually means underbaked, canelés should be deep, dark mahogany, so bake them longer and hotter. Cakey inside usually means the batter wasn’t rested long enough, so give it a full 24 to 48 hours in the fridge next time. Both are the most common canelé problems.


 Prep Time 20 minutes
  Cook Time 40 minutes
  Total Time 1 day 1 hour
  Servings 12 canelés
Description
Ingredients
- 500 ml whole milk
- 1 vanilla pod split
- 50 gr unsalted butter plus extra for greasing
- 4 eggs 2 whole + 2 egg yolks
- 250 gr caster sugar
- 100 gr plain flour
- 1 pinch salt
- 50 ml dark rum amber rum is traditional
For the moulds
- beeswax
- unsalted butter
Equipment

Instructions
1. Infuse the milk (day 1)
- Heat the milk with the split vanilla pod (seeds scraped in) and the 50g butter until just steaming. Take off the heat and leave to infuse 15 minutes.
2. Make the batter
- Whisk the sugar, flour and salt in a bowl. Whisk in the whole eggs and yolks to a smooth paste. Pour in the warm milk gradually, whisking, to a thin, smooth batter (like crêpe batter). Stir in the rum. Strain through a sieve.
3. Rest
- Cover and refrigerate for at least 24 hours, ideally 48.
4. Prepare the moulds (day 2)
- For the classic crust, melt beeswax with a little butter, coat each mould, invert to drain the excess, and chill until set hard. Or brush generously with butter and chill.
5. Fill and bake hot
- Heat the oven to 240°C (220°C fan). Whisk the rested batter gently to recombine. Fill each mould to 5mm from the top. Bake 15 minutes at 240°C.
6. Lower and finish
- Reduce to 180°C (160°C fan) and bake another 45 to 55 minutes, until deep, dark mahogany brown outside. Don't pull them pale.
7. Unmould and cool
- Turn out immediately onto a rack (they should drop out). Cool at least 1 to 2 hours. Best eaten the same day.
Notes
- Rest the batter 24 to 48 hours, non-negotiable, for the custardy centre.
- Bake them dark. Deep mahogany is right; pale means underbaked and no crackle.
- Copper moulds give the best crust; silicone works with a softer shell.
- Beeswax gives the signature lacquered crust; butter alone is easier and still good.
- Eat them the day they’re made. The crust softens overnight; the batter keeps 3 days to bake fresh.
Share your feedback and spread the love!
If you try this recipe, I’d love to hear how it turns out! Leave a ★★★★★ rating and your thoughts in the comments, it helps fellow French foodies discover this recipe too. Snap a photo and tag @obviously.french on Instagram. Come talk about it in our Facebook group. And don’t forget to save this recipe to Pinterest so you’ll always have it handy for your next French-inspired meal!