 October 6, 2025
Disclosure: This post may contain affiliate links which provide us a small commission when used for purchase. Please read my disclosure policy for more information. I am grateful for your support!
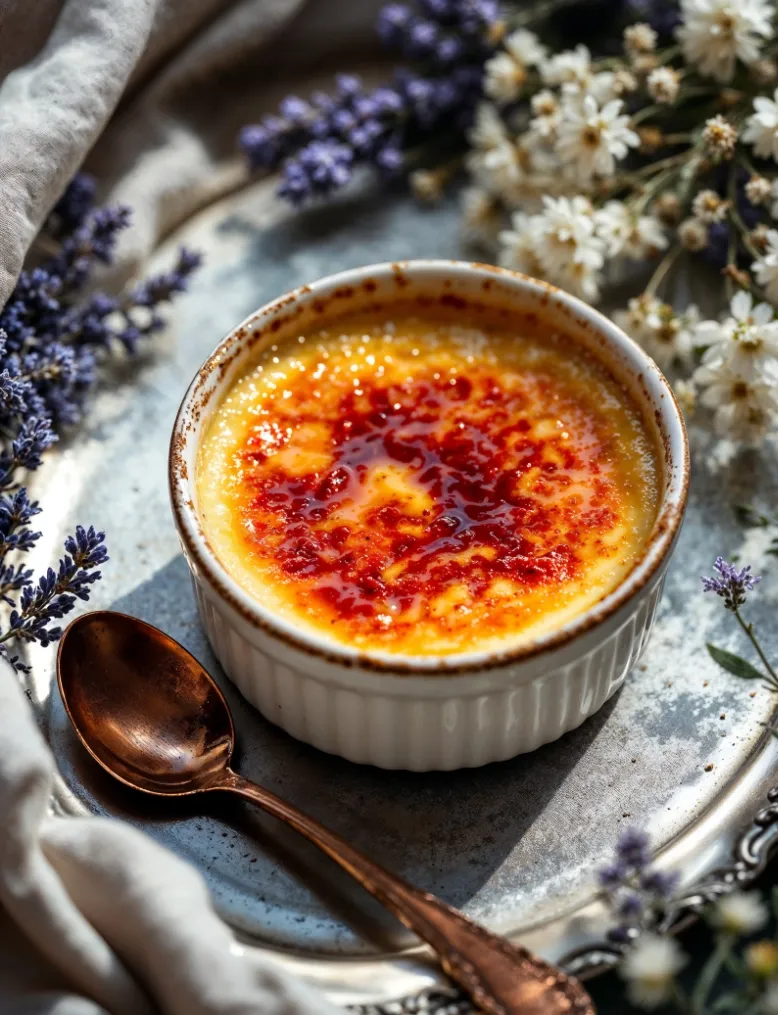
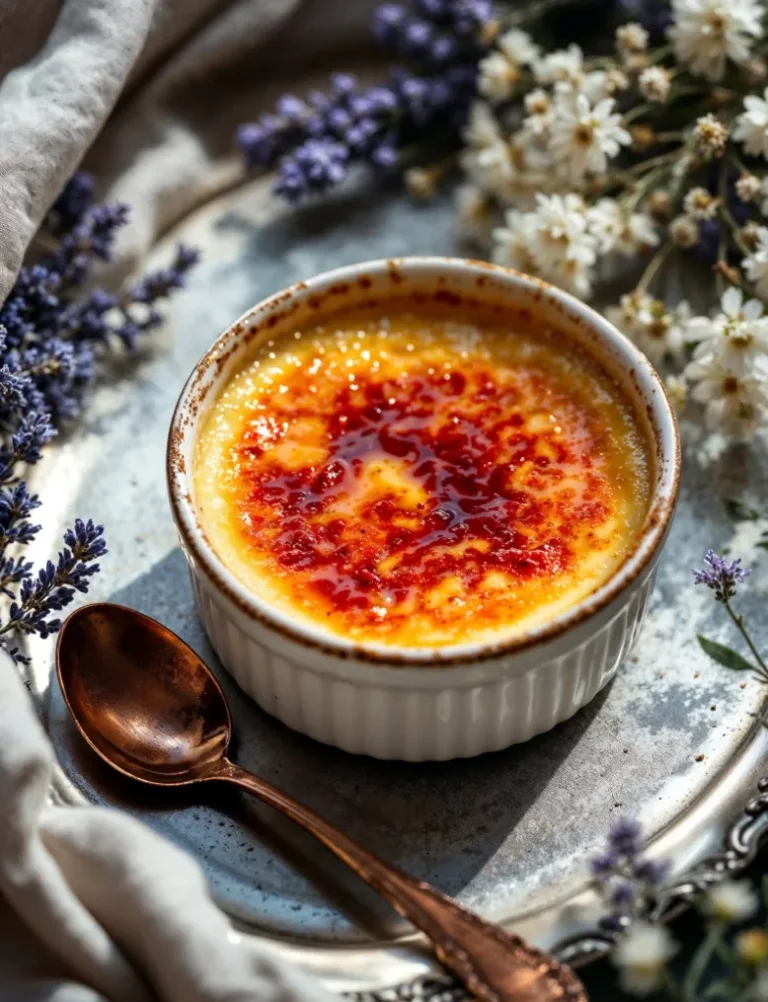
Can you believe something this good uses only four ingredients? Yes, you can buy crème brûlée in every French supermarket, but making your own is far more satisfying, and you probably have everything you need already. It’s also a good one to pull together when guests turn up unexpectedly and you want to impress without any stress!
Table of Contents
Where crème brûlée comes from
The first written record is French: François Massialot’s Le Cuisinier roïal et bourgeois, published in 1691. Massialot cooked for Philippe I, Duke of Orléans, the brother of Louis XIV, and later for his son, the future Regent. He’s also credited with crème pâtissière and chocolate cream, and meringues make their first appearance under that name in his book, so it was quite a career.
The original was very different. It had no vanilla, which was rare and expensive then, but cinnamon and lemon zest, with orange, pistachio and almond versions alongside. And no cream: it was made with milk and a pinch of flour. The silky all-cream, vanilla-scented custard we think of as the classic is a modern interpretation. Crème brûlée then stayed fairly obscure in French cookbooks through much of the 19th and 20th centuries, and only became a fixture in the 1980s, when the restaurant boom made it the emblematic dessert of the decade.
Ingredients
- Double cream — the body and the richness, and the reason the texture is silky rather than eggy. Full-fat, nothing lighter; single cream or milk won’t set the same way.
- Egg yolks — the setting agent. Yolks only, no whites, which would make it rubbery and pale rather than dense and golden.
- Vanilla pod — the flavour of the whole dessert. A real pod, split and scraped, gives you the seeds and the perfume from the pod itself. Extract works at a push but you lose the speckle and the depth.
- Caster sugar — sweetens the custard, and a separate thin layer caramelises on top. Caster rather than granulated for the topping, since fine sugar melts evenly instead of catching in patches.
How to make crème brûlée
1. Infuse the cream
Split the pod, scrape the seeds, and heat both with the cream until it just begins to simmer, then take it off and let it sit for fifteen minutes. This is where the flavour comes from, and rushing it gives you a vaguely sweet custard rather than a vanilla one.
2. Whisk the yolks and sugar
Pale and smooth, not frothy. Air whisked in here turns into bubbles on the surface of the baked custard and spoils the glassy finish you want under the caramel.
3. Temper slowly, or you’ll scramble it
Pour the warm cream into the yolks in a thin stream, stirring constantly. Tip it in all at once and the hot cream cooks the eggs on contact. Straining afterwards catches anything that did set.
4. Bake gently in a water bath
Hot water halfway up the ramekins, low oven, and start checking at 50 minutes. Overbaked crème brûlée is grainy and firm rather than silky, and there’s no fixing it, so err on the underdone side.
5. Chill thoroughly, torch at the last second.
At least four hours, ideally overnight. Then sugar and torch just before it goes to the table. The entire pleasure of this dessert is cold custard under a warm, cracking crust, and if you torch it early the caramel softens and dissolves into the surface.
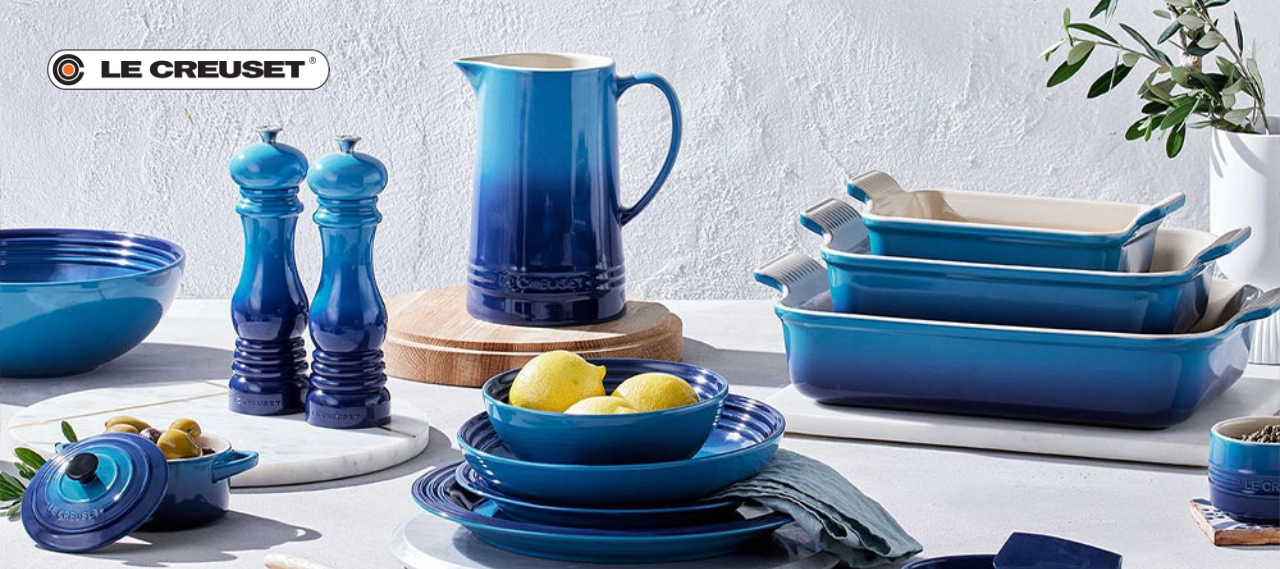
Tools for this recipe
Check out my favorite kitchen essentials and cookware!
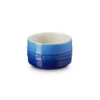
- Use ramekins that are shallow and wide rather than deep, so the custard cooks evenly and you get a good ratio of caramel to cream in every spoonful.
- Use a kitchen blowtorch for the top, because it caramelises the sugar in seconds without warming the custard beneath.
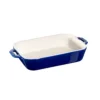
- Use a baking dish deep enough to hold hot water halfway up the ramekins for the bain-marie.
Tips for success
- Put the ramekins in the dish before you fill them, and pour the water last: carrying a tray of hot water and full ramekins to the oven is how you end up with water in the custard. Fill the dish once it’s on the oven shelf for less accidents!
- Use hot water, not boiling: boiling water carries on cooking aggressively and can curdle the outer edge before the oven has even got going.
- Bake them on the middle shelf and rotate halfway: if your oven has hot spots. Unevenly baked custards will have one side set and another still liquid.
- Chill uncovered first, then cover. Covering warm custard traps condensation, which drips back onto the surface and stops the sugar caramelising evenly later.
- Pat the surface dry before sugaring: any moisture on top will dissolve the sugar into syrup rather than letting it melt into a crisp sheet.
How to store it
- In the fridge: Baked, un-torched custards keep 3 days covered, and honestly they’re better on day two once fully set. Torch only what you’re serving. Once torched, eat within the hour or the crust goes soft and sticky.
- At room temperature: Only for the short cooling period after baking, before they go into the fridge. This is a custard, so don’t leave it sitting out.
- In the freezer: Not recommended. Freezing splits the custard and it thaws grainy and weeping, which is the opposite of what you spent four hours achieving.
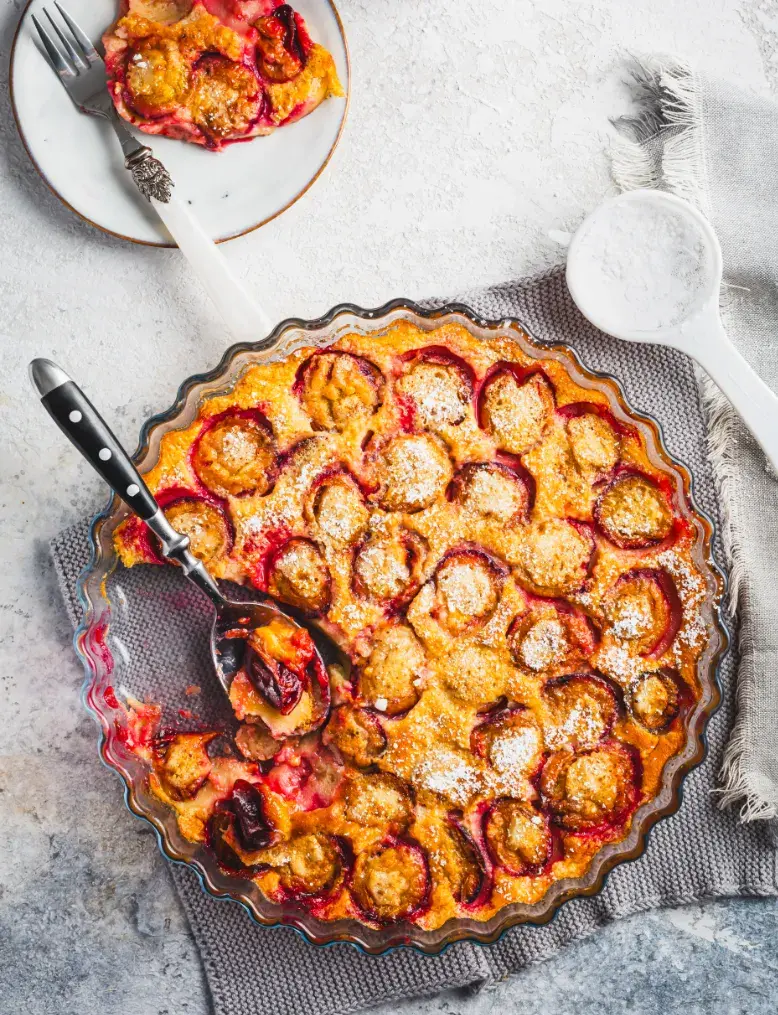
More dessert recipes to try
Variations
- Coffee: steep coarsely ground coffee or a few crushed beans in the hot cream, then strain. Vanilla and coffee together is my favourite version, and it’s the one I’d make second after the classic.
- Lavender: a small pinch of culinary lavender infused into the cream, and I mean small, since it turns soapy quickly. Very Provence, and lovely in summer.
- Orange or lemon zest. This is closest to what Massialot actually made in 1691, since the original used citrus and cinnamon rather than vanilla. Pare the zest in strips and infuse it with the cream.
- Chocolate. Melt 50g of good dark chocolate into the hot cream before tempering. Denser and more like a pot de crème with a crust.
- Cinnamon. The other half of the original recipe. A stick infused in the cream gives a warm, faintly medieval version that suits winter.
- Less sugar. The sugar in the custard can come down to around 50g without any structural problem, since the yolks and cream do the setting. What you cannot cut is the sugar on top, because that is the caramel, and there’s no substitute for it. If you want the dessert less sweet overall, reduce the custard sugar and keep the crust thin.
FAQ
Why did my crème brûlée turn out grainy or scrambled?
Either the hot cream went into the yolks too fast, or it overbaked. Temper slowly in a thin stream while stirring, use a water bath, and pull them out while the centre still wobbles.
How do I know when crème brûlée is done?
Shake the ramekin gently. The custard should wobble as one piece. If the middle ripples separately it needs longer, and if it doesn’t move at all it’s overcooked.
Can I make crème brûlée without a blowtorch?
Yes, under a very hot grill for 2–3 minutes, watching constantly. It’s less precise, since the grill warms the custard as well as the sugar, so chill them thoroughly first and get them out the moment the top is amber.
What’s the difference between crème brûlée and crema catalana?
Crema catalana is milk-based and thickened with cornflour, usually flavoured with citrus and cinnamon, and set on the hob rather than baked. Crème brûlée is cream-based, baked in a water bath, and richer.


 Prep Time 15 minutes
  Cook Time 1 hour
  Total Time 5 hours 15 minutes
  Servings 4
Description
Ingredients
- 500 ml Double cream
- 1 vanilla pod
- 5 egg yolk
- 75 gr caster sugar plus extra for caramelizing
Equipment


Instructions
1. Prepare the vanilla cream
- Preheat the oven to 150°C. Split the vanilla pod lengthwise and scrape out the seeds. In a saucepan, combine the double cream, vanilla seeds and pod. Heat gently until it just starts to simmer, then remove from the heat and leave to infuse for 15 minutes.
2. Whisk the egg yolks and sugar
- In a mixing bowl, whisk the egg yolks and caster sugar until pale and smooth but not frothy.
3. Combine
- Remove the vanilla pod. Slowly pour the warm cream into the yolks in a thin stream, stirring constantly to avoid cooking the eggs. Mix until fully combined.
4. Strain the custard (optional)
- For an extra smooth texture, strain the custard through a fine sieve into another bowl to remove any cooked egg or pod residue.
5. Pour and bake
- Divide the custard between the ramekins. Place them in a baking dish, set it on the oven shelf, then pour in hot water until it reaches halfway up the sides of the ramekins. Bake at 150°C for 50–60 minutes, until just set but still wobbling as one piece in the centre.
6. Cool and chill
- Lift the ramekins out of the water bath and cool to room temperature. Cover and refrigerate for at least 4 hours, preferably overnight.
7. Caramelize the sugar topping
- Just before serving, sprinkle a thin, even layer of caster sugar over each custard. Torch until it bubbles and turns golden amber, keeping the flame moving. Without a torch, use a very hot grill for 2–3 minutes, watching closely.
Notes
- For the smoothest custard, avoid whisking air into the eggs and cream mixture.
- Use a spatula gently to combine.
- Let the cream infuse properly with the vanilla to get that trademark aromatic flavour.
- The top sugar should be thin so it cracks perfectly when you tap it with the spoon.
Share your feedback and spread the love!
If you try this recipe, I’d love to hear how it turns out! Leave a ★★★★★ rating and your thoughts in the comments, it helps fellow French foodies discover this recipe too. Snap a photo and tag @obviously.french on Instagram. Come talk about it in our Facebook group. And don’t forget to save this recipe to Pinterest so you’ll always have it handy for your next French-inspired meal!