 April 22, 2025
Disclosure: This post may contain affiliate links which provide us a small commission when used for purchase. Please read my disclosure policy for more information. I am grateful for your support!
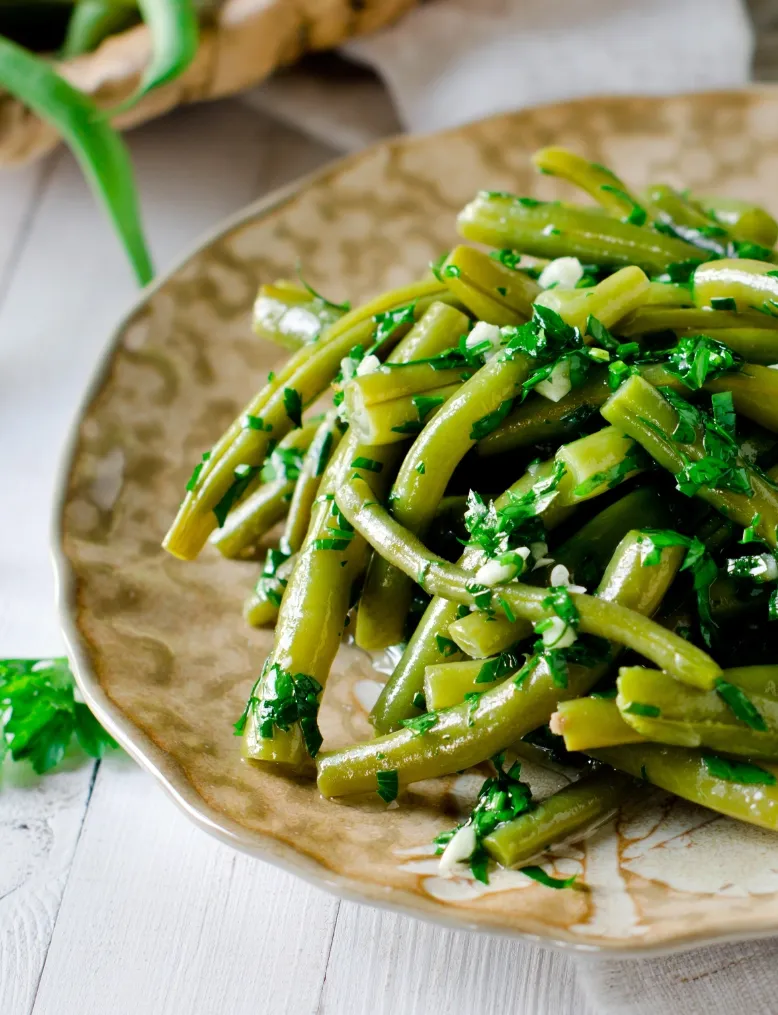
There’s nothing I like more than garlic green beans or green beans almondine. I think I just like green beans, full stop. There’s something about that grassy, slightly sweet taste that I find completely addictive.
And they go with everything, so it’s only natural to have them as a regular side dish at home. My mum used to make this simple garlic green beans dish when I was a child, and I’ve never really stopped eating it since. I’ve always loved garlic (it must be in my French blood).
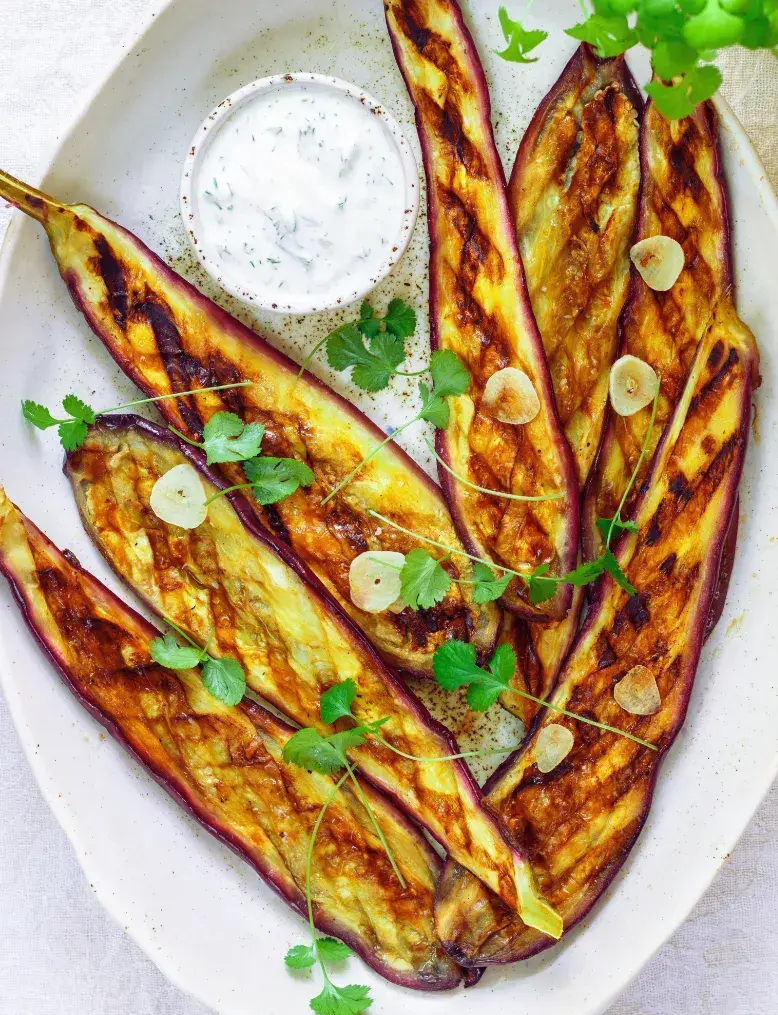
And if you’re a garlic lover like me, you’ll probably love these grilled aubergines just as much.
Table of Contents
Where garlic green beans comes from
The French haricot vert is a specific variety of green bean: thinner, delicate, and more refined in flavour than the broader beans you often find elsewhere. Beans arrived in France from the Americas in the 16th century and quickly became a staple of kitchen gardens across the country.
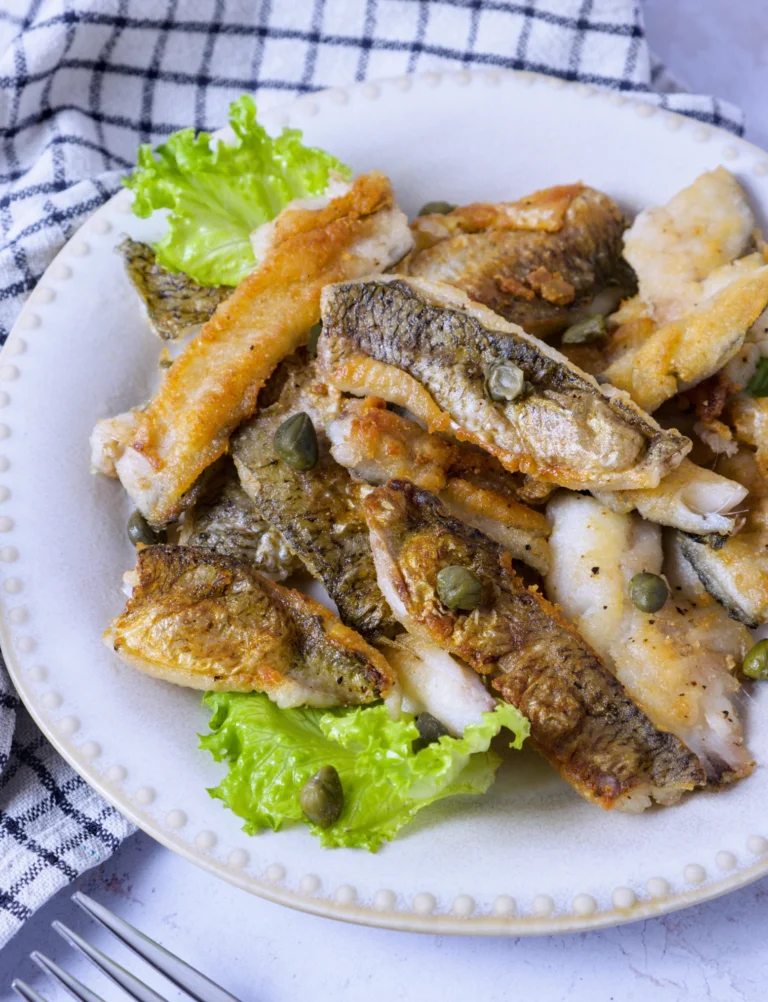
Cooking them simply, with butter or olive oil and a little garlic, is classic French home cooking. It’s everyday food more than restaurant food. Garlic green beans appear alongside omelettes, quiches, or my personal favourite, fish without ever trying to steal attention.
Ingredients
- Green beans (haricots verts) – Thin, firm, and fresh. They should snap cleanly when bent. If they’re soft or bend without breaking, they’re past their best.
- Garlic – Sliced, not crushed. Sliced garlic cooks more gently and evenly, giving a softer, rounder flavour.
- Butter – Adds richness and helps carry the garlic. You can swap for olive oil for a lighter vegan version.
- Parsley – Added at the end for freshness. It should stay bright and aromatic, not cooked down.
- Salt and black pepper – Proper seasoning is key, especially in the blanching water.
How to make garlic green beans
1. Prep and blanch the beans
Trim the ends and rinse the beans. Bring a large pan of well-salted water to the boil and blanch them for 2 to 3 minutes until just tender. Drain and cool briefly (in cold water if you want to fully stop the cooking), then set aside. This step is optional but improves both colour and texture.
2. Cook the garlic
Melt the butter in a frying pan over medium heat. Add the sliced garlic and cook gently for about a minute until fragrant. Keep the heat controlled so it doesn’t brown.
3. Finish the beans
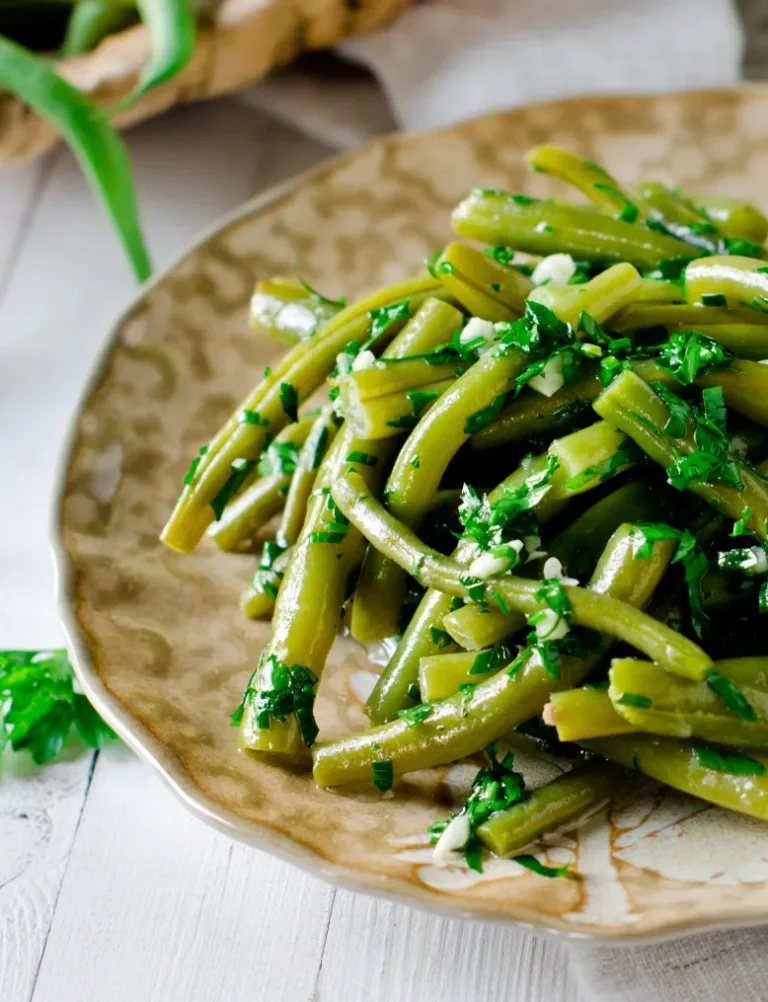
Add the beans to the pan and toss to coat in the garlic butter. Cook for 5 to 7 minutes until tender-crisp. If the beans were blanched, they only need 2 to 3 minutes to heat through. Season with salt and pepper.
4. Bake, and leave the door shut
Take the pan off the heat, add the chopped parsley, and toss briefly. Serve immediately while the beans are still bright and the garlic is at its most fragrant!
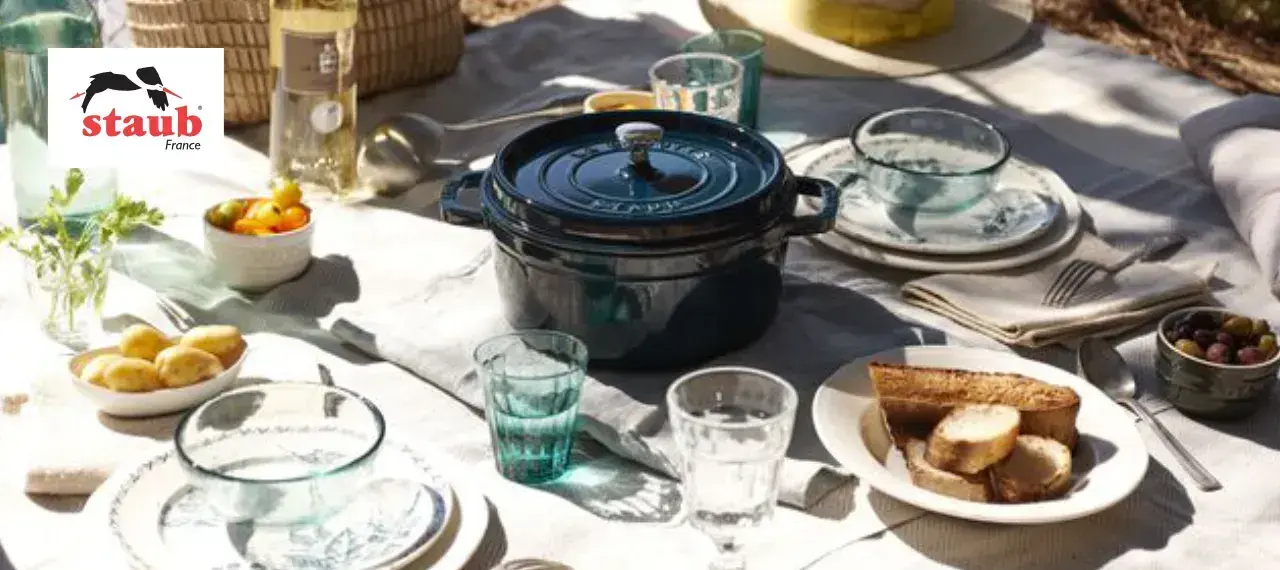
Tools for this recipe
Check out my favorite kitchen essentials and cookware!
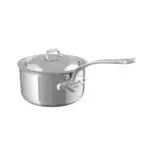
- Use a saucepan to blanch the beans before frying them.
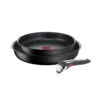
- Use a wide frying pan to avoid steaming the green beans.
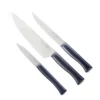
- I use my sharp chef’s knife to cut the garlic slices the perfect size.
Tips for success
- Salt the blanching water properly: it should taste seasoned, not flat.
- Keep the garlic pale: the moment it browns, it turns bitter.
- Don’t overcook the beans: they should still have a slight bite.
- Cook in a wide pan: if the pan is too crowded, the beans steam instead of sautéing.
- Add parsley off the heat: it should stay fresh and green, not cooked down.
How to store it
- These are best eaten straight away. Green beans lose their colour and texture as they sit, and the garlic becomes stronger and less balanced over time.
- If you do have leftovers, keep them in a glass sealed container the fridge for up to 2 days and reheat gently in a pan. They won’t be quite the same, but obviously still perfectly good.
More vegetarian recipes to try
→ Grilled Aubergines with Garlic
→ Large flat-cap stuffed mushrooms
Variations
- Swap butter for olive oil for a lighter, more southern French version.
- Add a squeeze of lemon juice at the end for brightness.
- Finish with grated parmesan for a slightly richer, more savoury version.
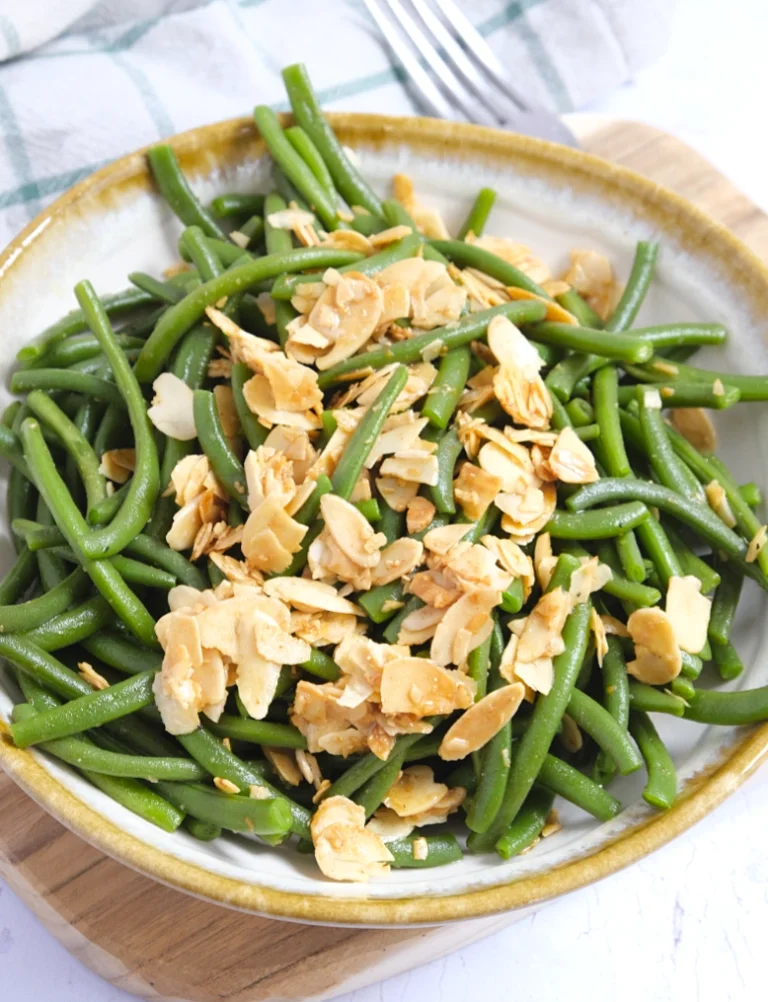
- Add toasted slivered almonds for a nod to green beans almondine.
FAQ
Do I have to blanch green beans before sautéing?
No, but it helps. Blanching improves colour and seasons the beans internally. If you skip it, cook the beans a little longer in the pan.
Why did my garlic turn bitter?
It likely browned too much. Garlic should be cooked gently and kept pale. Once it darkens, it develops a bitter flavour.
Can I use frozen green beans?
Yes. Frozen beans are often very good quality. Cook them straight from frozen and adjust the cooking time slightly.
What can I serve with garlic green beans?
They go with almost anything: omelettes, grilled fish or quiche. They’re designed to sit alongside a dish, not compete with it.


 Prep Time 5 minutes
  Cook Time 15 minutes
  Total Time 20 minutes
  Servings 4
Description
Ingredients
- 500 gr green beans or haricot vert
- 2 cloves garlic
- 1 handful parsley fresh
- 50 gr unsalted butter
- salt and black pepper
Equipment

Instructions
1. Prep the beans
- Trim the ends and rinse. If blanching, cook in well-salted boiling water for 2 to 3 minutes, then drain and set aside.
2. Sauté the garlic
- Melt the butter in a frying pan over medium heat. Add the sliced garlic and cook gently for about a minute until fragrant, without letting it brown.
3. Cook the beans
- Add the beans to the pan and toss to coat. Cook for 5 to 7 minutes until tender-crisp. If already blanched, cook for 2 to 3 minutes to heat through. Season with salt and pepper.
4. Finish with parsley and serve
- Finish and serve. Remove from the heat, add the parsley, toss, and serve immediately.
Notes
- For extra richness, use butter; for a lighter, Provençal touch, opt for olive oil. Feel free to make this dish your own by adding a squeeze of lemon juice or a sprinkle of grated parmesan just before serving.
- Blanching improves colour and texture but isn’t essential.
- Keep the garlic pale to avoid bitterness.
- Cook in a wide pan so the beans sauté rather than steam.
- Best served immediately while bright and fresh.
Share your feedback and spread the love!
If you try this recipe, I’d love to hear how it turns out! Leave a ★★★★★ rating and your thoughts in the comments, it helps fellow French foodies discover this recipe too. Snap a photo and tag @obviously.french on Instagram. Come talk about it in our Facebook group. And don’t forget to save this recipe to Pinterest so you’ll always have it handy for your next French-inspired meal!