Persillade
 October 2, 2026
Disclosure: This post may contain affiliate links which provide us a small commission when used for purchase. Please read my disclosure policy for more information. I am grateful for your support!
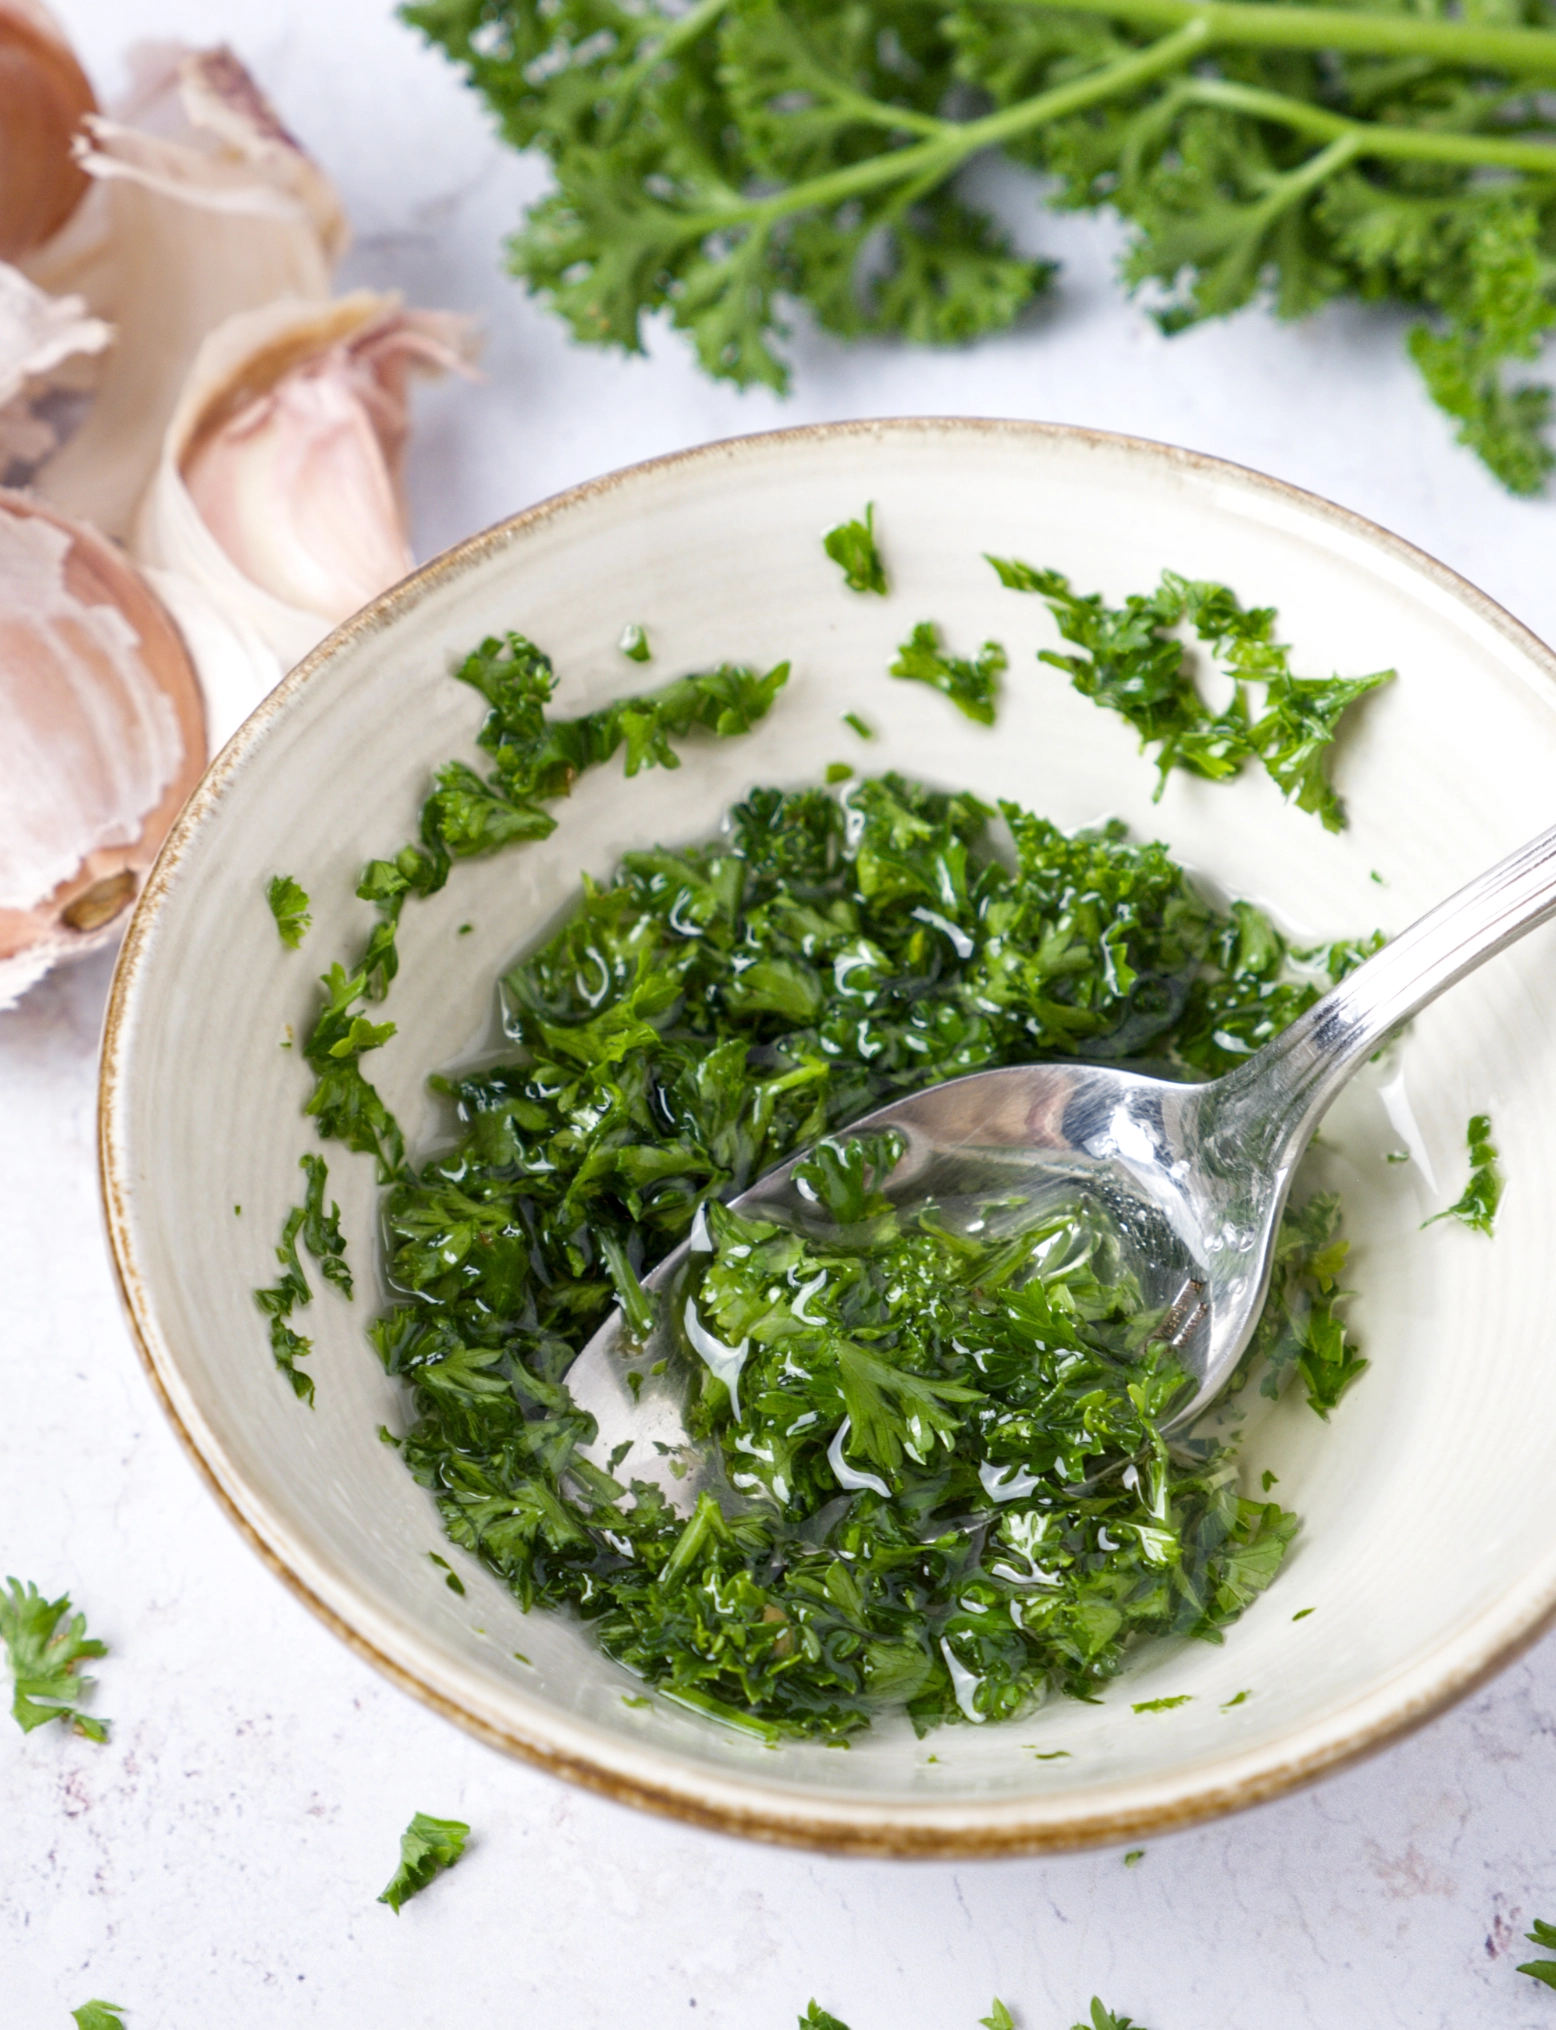
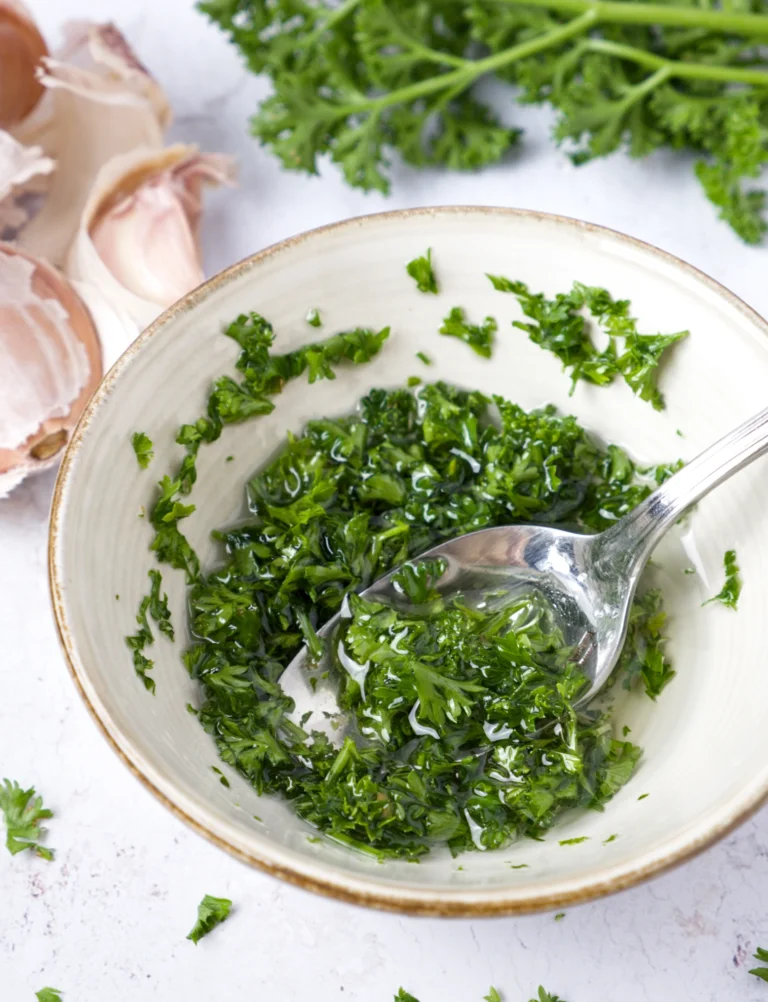
Persillade is probably the smallest recipe on this blog, but I had to share it as it requires only simple ingredients, no special equipment, two minutes of work, and it is something delicious that the French in Nice where I grew up put on everything!
It’s a simple mixture turns plain sautéed potatoes into fragrant and tasty persillade potatoes, lifts a piece of grilled fish or shellfish like scallops, and finishes a pan of mushrooms. Once it’s part of how you cook, you reach for it constantly, and I use it more than I should in my kitchen.
Table of Contents
Where persillade comes from
The name tells you the recipe: persil is parsley, and -ade is the French suffix for a preparation made from something, the same way anchois gives anchoïade and orange gives orangeade.
The pairing of garlic and parsley goes back to medieval Europe, where both were cheap, grew easily, and did a great deal to lift plain peasant food. In France it settled most deeply in the south, where it became a small culinary art, and it spread across the whole country in regional forms: Burgundy snails in garlic-parsley butter, sautéed potatoes in the southwest, grilled meats and tomatoes in Provence. Good ideas travel, and this persillade herb blend is one of the oldest and simplest.
Ingredients
- Parsley — flat-leaf for the fuller flavour, though curly works if that’s what you have. Fresh only, since dried parsley has none of the point of this. Washed and thoroughly dried before chopping, or it turns to mush.
- Garlic — fresh, finely chopped, and this is where the bite comes from. Take out the green germ if the cloves are older, since it’s the bitter, aggressive part.
- Salt — a pinch, which helps the garlic break down and seasons the mix.
- Olive oil (or butter) — to loosen up the persillade which turns it from a dry mix into something closer to a sauce and is good for spooning over everything!
- Shallot (optional) — a little finely chopped shallot is a common regional addition, softening the sharpness.
How to make persillade
1. Prepare the parsley
Wash the parsley and dry it thoroughly, since wet parsley bruises into a paste under the knife instead of chopping cleanly. Pick the leaves from the thickest stalks, though fine stalks are fine to include and carry plenty of flavour.
2. Prepare the garlic
Peel the garlic and remove the green germ from the centre of each clove if there is one, as it’s the bitter part. How much garlic is to taste, but persillade should carry a real hit of it, so don’t be shy.
3. Chop them together
Chop the parsley and garlic together on the same board, going back and forth until both are fine and evenly mixed. Chopping them together rather than separately lets the flavours start to meld and coats the garlic in the parsley, which softens its raw edge slightly. A pinch of salt on the board helps break the garlic down.
4. Loosen with oil or butter
For a spoonable version, stir in a little olive oil until it comes together into a loose paste. For stirring into potatoes or scattering over meat, leave it dry.
5. Use it fresh
Persillade is at its best made just before you need it. The raw garlic dulls and the parsley loses its colour within an hour or two, so chop it close to serving rather than well ahead.
Tools for this recipe
Check out my favorite kitchen essentials and cookware!
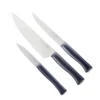
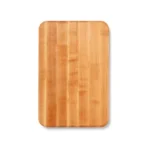
- Use a sharp knife and a chopping board. A blunt knife bruises the parsley and crushes the garlic into a paste.
- A mortar and pestle works too if you want a coarser, more pounded version, particularly if you’re loosening it with oil into a sauce.
Tips for success
- Dry the parsley properly before chopping: wet parsley bruises and browns under the knife and turns to a dark paste. A salad spinner or a clean towel, and chop it dry.
- Chop the garlic and parsley together, not separately: working them on the same board melds the flavours and the parsley tempers the raw garlic, which is why persillade tastes rounder than the two thrown together at the last second.
- Make it fresh: raw garlic turns harsh and the parsley fades within a couple of hours, so chop it just before you use it.
- Take the germ out of older garlic: the green shoot in the middle is bitter and aggressive, and in something this raw it has nowhere to hide.
- Add it late in the cooking: persillade is a finishing touch. Thrown in early it cooks to nothing and the fresh bite disappears, which is the whole reason to use it.
- Salt the board: a pinch of salt under the knife helps break the garlic down and draws a little moisture from the parsley, bringing it together.
How to store it
- In the fridge: Best used the day it’s made, but it keeps a day or two in a sealed jar, ideally covered with a thin layer of olive oil to slow the browning. The flavour dulls and the garlic strengthens as it sits.
- In the freezer: Freezes surprisingly well. Pack it into an ice cube tray with a little olive oil and freeze, then drop a cube straight into a hot pan whenever you need it. Handy, though it loses the fresh raw bite and works better stirred into cooking than as a raw finish.
- Dried: Not worth it. Dried parsley and garlic powder make a different, flatter thing entirely, and the point of persillade is that it’s fresh.
More recipes to try
Variations
- Gremolata: the Italian cousin, with lemon zest added, traditionally served on osso buco. Orange zest as well makes it richer.
- With shallot: a little finely chopped shallot softens the sharpness, a common regional touch in the south.
- With breadcrumbs: mixed with fresh breadcrumbs, it makes the crust topping for baked fish and tomatoes.
- With anchovy or capers: a chopped anchovy or a few capers turn it savoury and briny, closer to a rough salsa verde.
FAQ
What is persillade made of?
Finely chopped fresh parsley and garlic, sometimes with a little salt and olive oil. That’s the classic mix. Some versions add shallot, breadcrumbs or lemon.
What’s the difference between persillade and gremolata?
Persillade is garlic and parsley. Gremolata is the Italian version, which adds lemon zest and traditionally goes on osso buco. Same idea, one extra ingredient.
When do you add persillade to a dish?
At the end of cooking or at the table. It’s a fresh finish, so cooking it long kills the sharp raw garlic and the bright parsley.
What do you use persillade for?
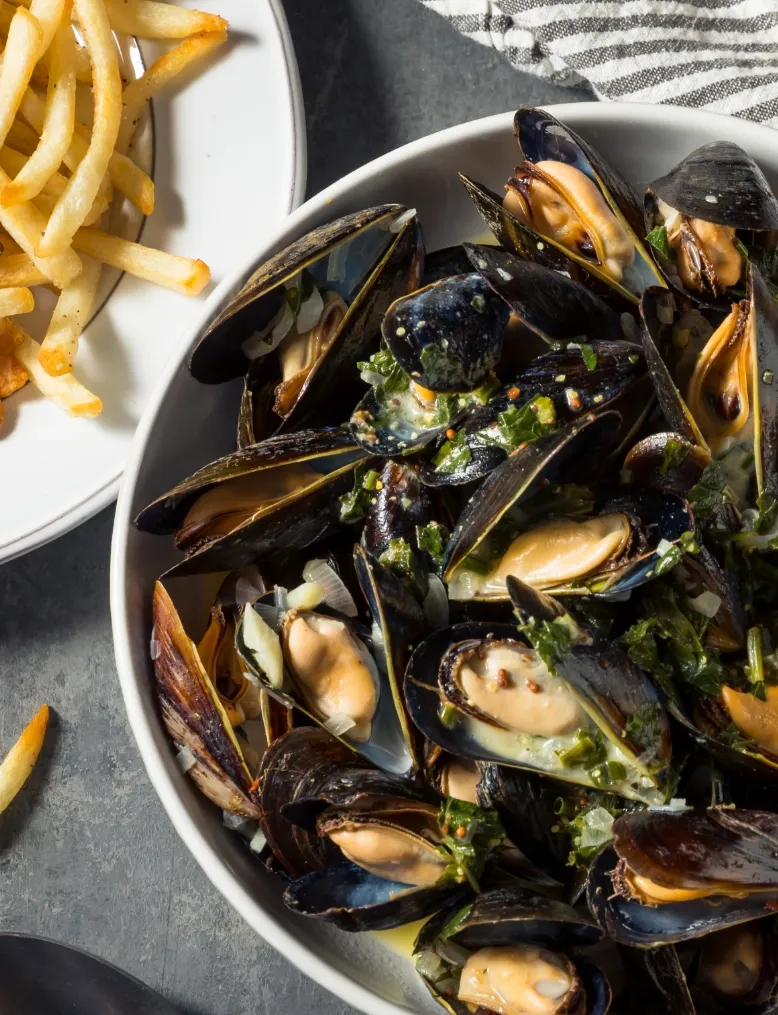
Sautéed potatoes, grilled and pan-fried meats and fish, mushrooms, snails (in butter), tomatoes, and as a crust with breadcrumbs for scallops. It suits almost anything savoury.
Can you make persillade ahead of time?
It’s best fresh, but it keeps a day or two in the fridge under a little oil, and it freezes well in oil in an ice cube tray for stirring into cooked dishes.


 Prep Time 5 minutes
 Total Time 5 minutes
 Servings 4 tbsp
Description
Ingredients
- 1 bunch flat-leaf parsley
- 2 cloves garlic
- 1 pinch salt
- 4 tbsp olive oil or you can also use butter
Equipment
Instructions
1. Prepare the parsley
- Wash and thoroughly dry the parsley. Pick the leaves from the thickest stalks.
2. Prepare the garlic
- Peel the garlic and remove the green germ from the centre of each clove if present.
3. Chop together
- Chop the parsley and garlic together on the same board, with a pinch of salt, until both are fine and evenly mixed.
4. Loosen
- For a spoonable version, stir in the olive oil to make a loose paste. Or use butter to make butter persillade.
5. Use fresh
- Use straight away for the best flavour, or keep briefly under a thin layer of oil.
Notes
- Dry the parsley well before chopping, or it bruises to a paste.
- Chop the garlic and parsley together so the flavours meld.
- Add persillade at the end of cooking, since its fresh bite is lost if cooked long.
- Best made just before you need it.
Share your feedback and spread the love!
If you try this recipe, I’d love to hear how it turns out! Leave a ★★★★★ rating and your thoughts in the comments, it helps fellow French foodies discover this recipe too. Snap a photo and tag @obviously.french on Instagram. Come talk about it in our Facebook group. And don’t forget to save this recipe to Pinterest so you’ll always have it handy for your next French-inspired meal!